Skip to content
VividPlan

Controlled architectural rendering

Turn drawings into renders.
Then direct what changes.

Create a photorealistic concept visual from a sketch, floor plan or elevation. Annotate the exact area, describe the revision or guide it with a reference image while the rest stays in view.

5 free renders · No credit card required

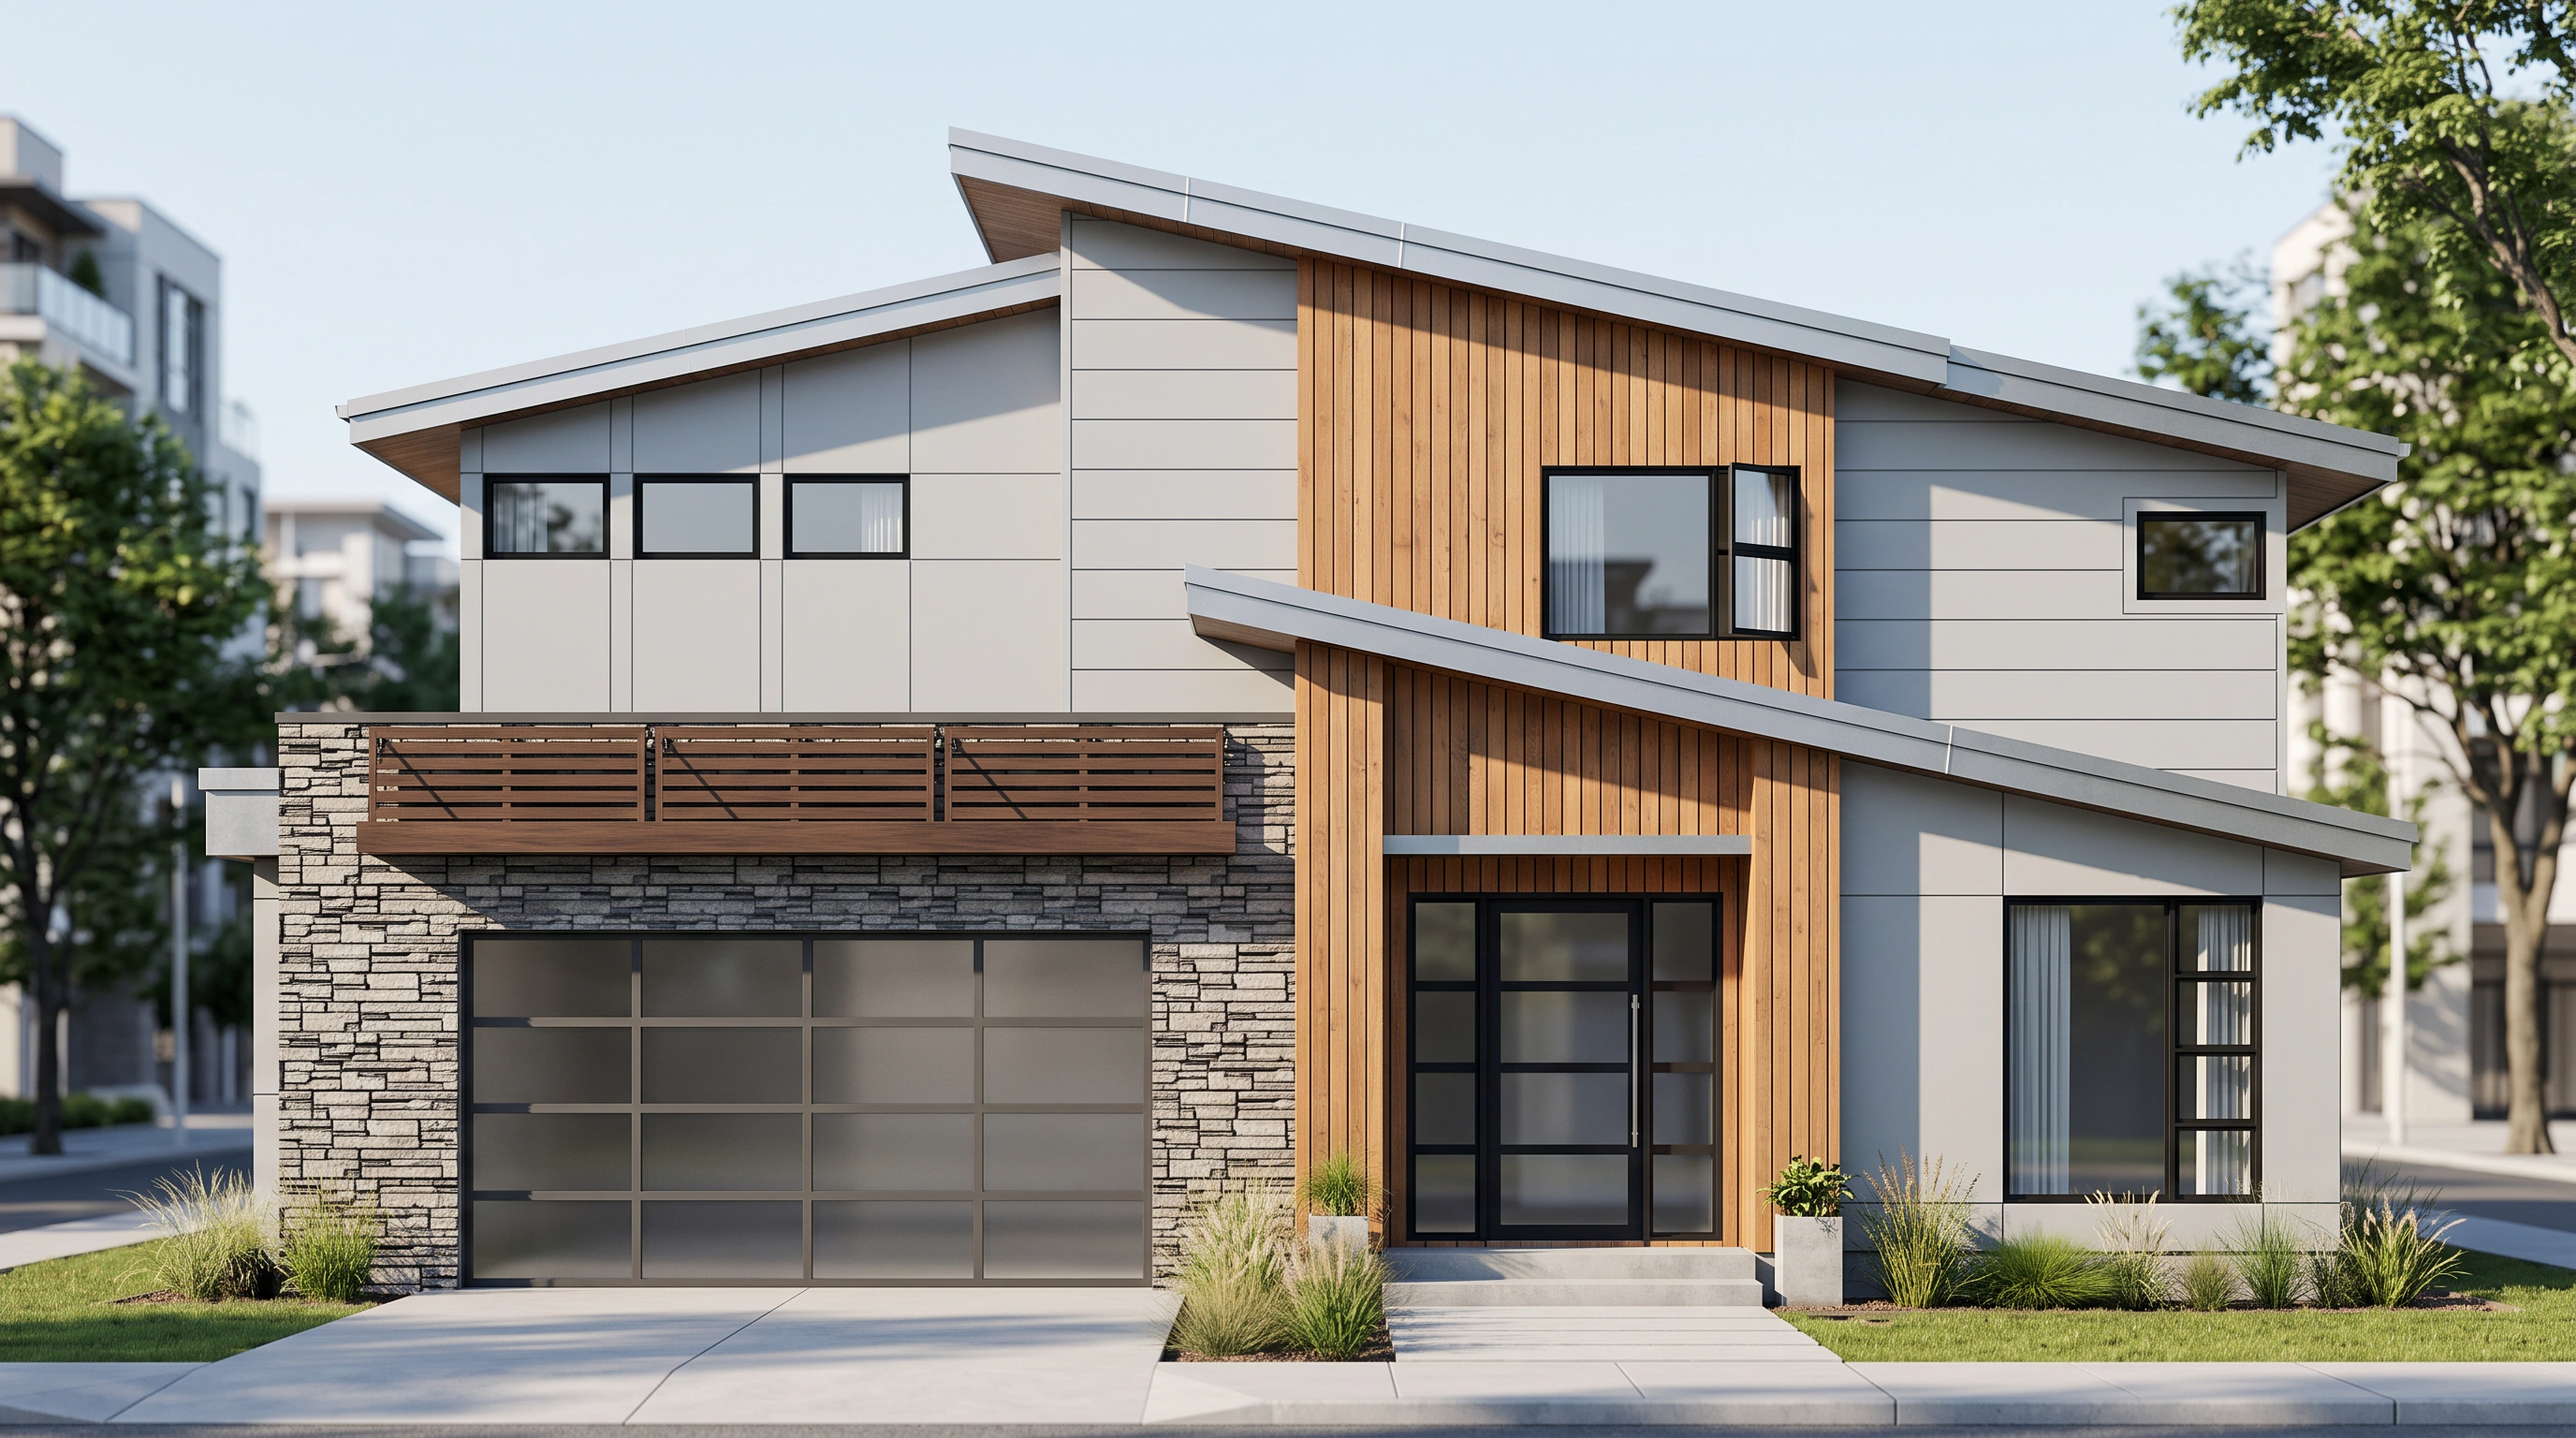
Photorealistic daytime visual of the contemporary home from the elevation drawing
Original black and white architectural elevation drawing

Drag to compare the drawing and visual

Start where your work starts

Three ways in. One clear outcome.

Use the drawing already in front of you. VividPlan turns early linework into something clients, buyers and project teams can understand at a glance.

01 · Sketch to render

Give an early idea enough presence to discuss.

Upload a JPG, PNG or PDF. VividPlan interprets the form, materials and setting so a rough drawing can become a compelling first visual — without building a 3D model.

  • Rough sketches and hand drawings
  • Selected-area annotations
  • Reference-guided replacement
Explore sketch to render
Photorealistic daytime visual of the contemporary home from the elevation drawing
Original black and white architectural elevation drawingSource drawing
Contemporary family home · Day / suburban

02 · Floor plan visualisation

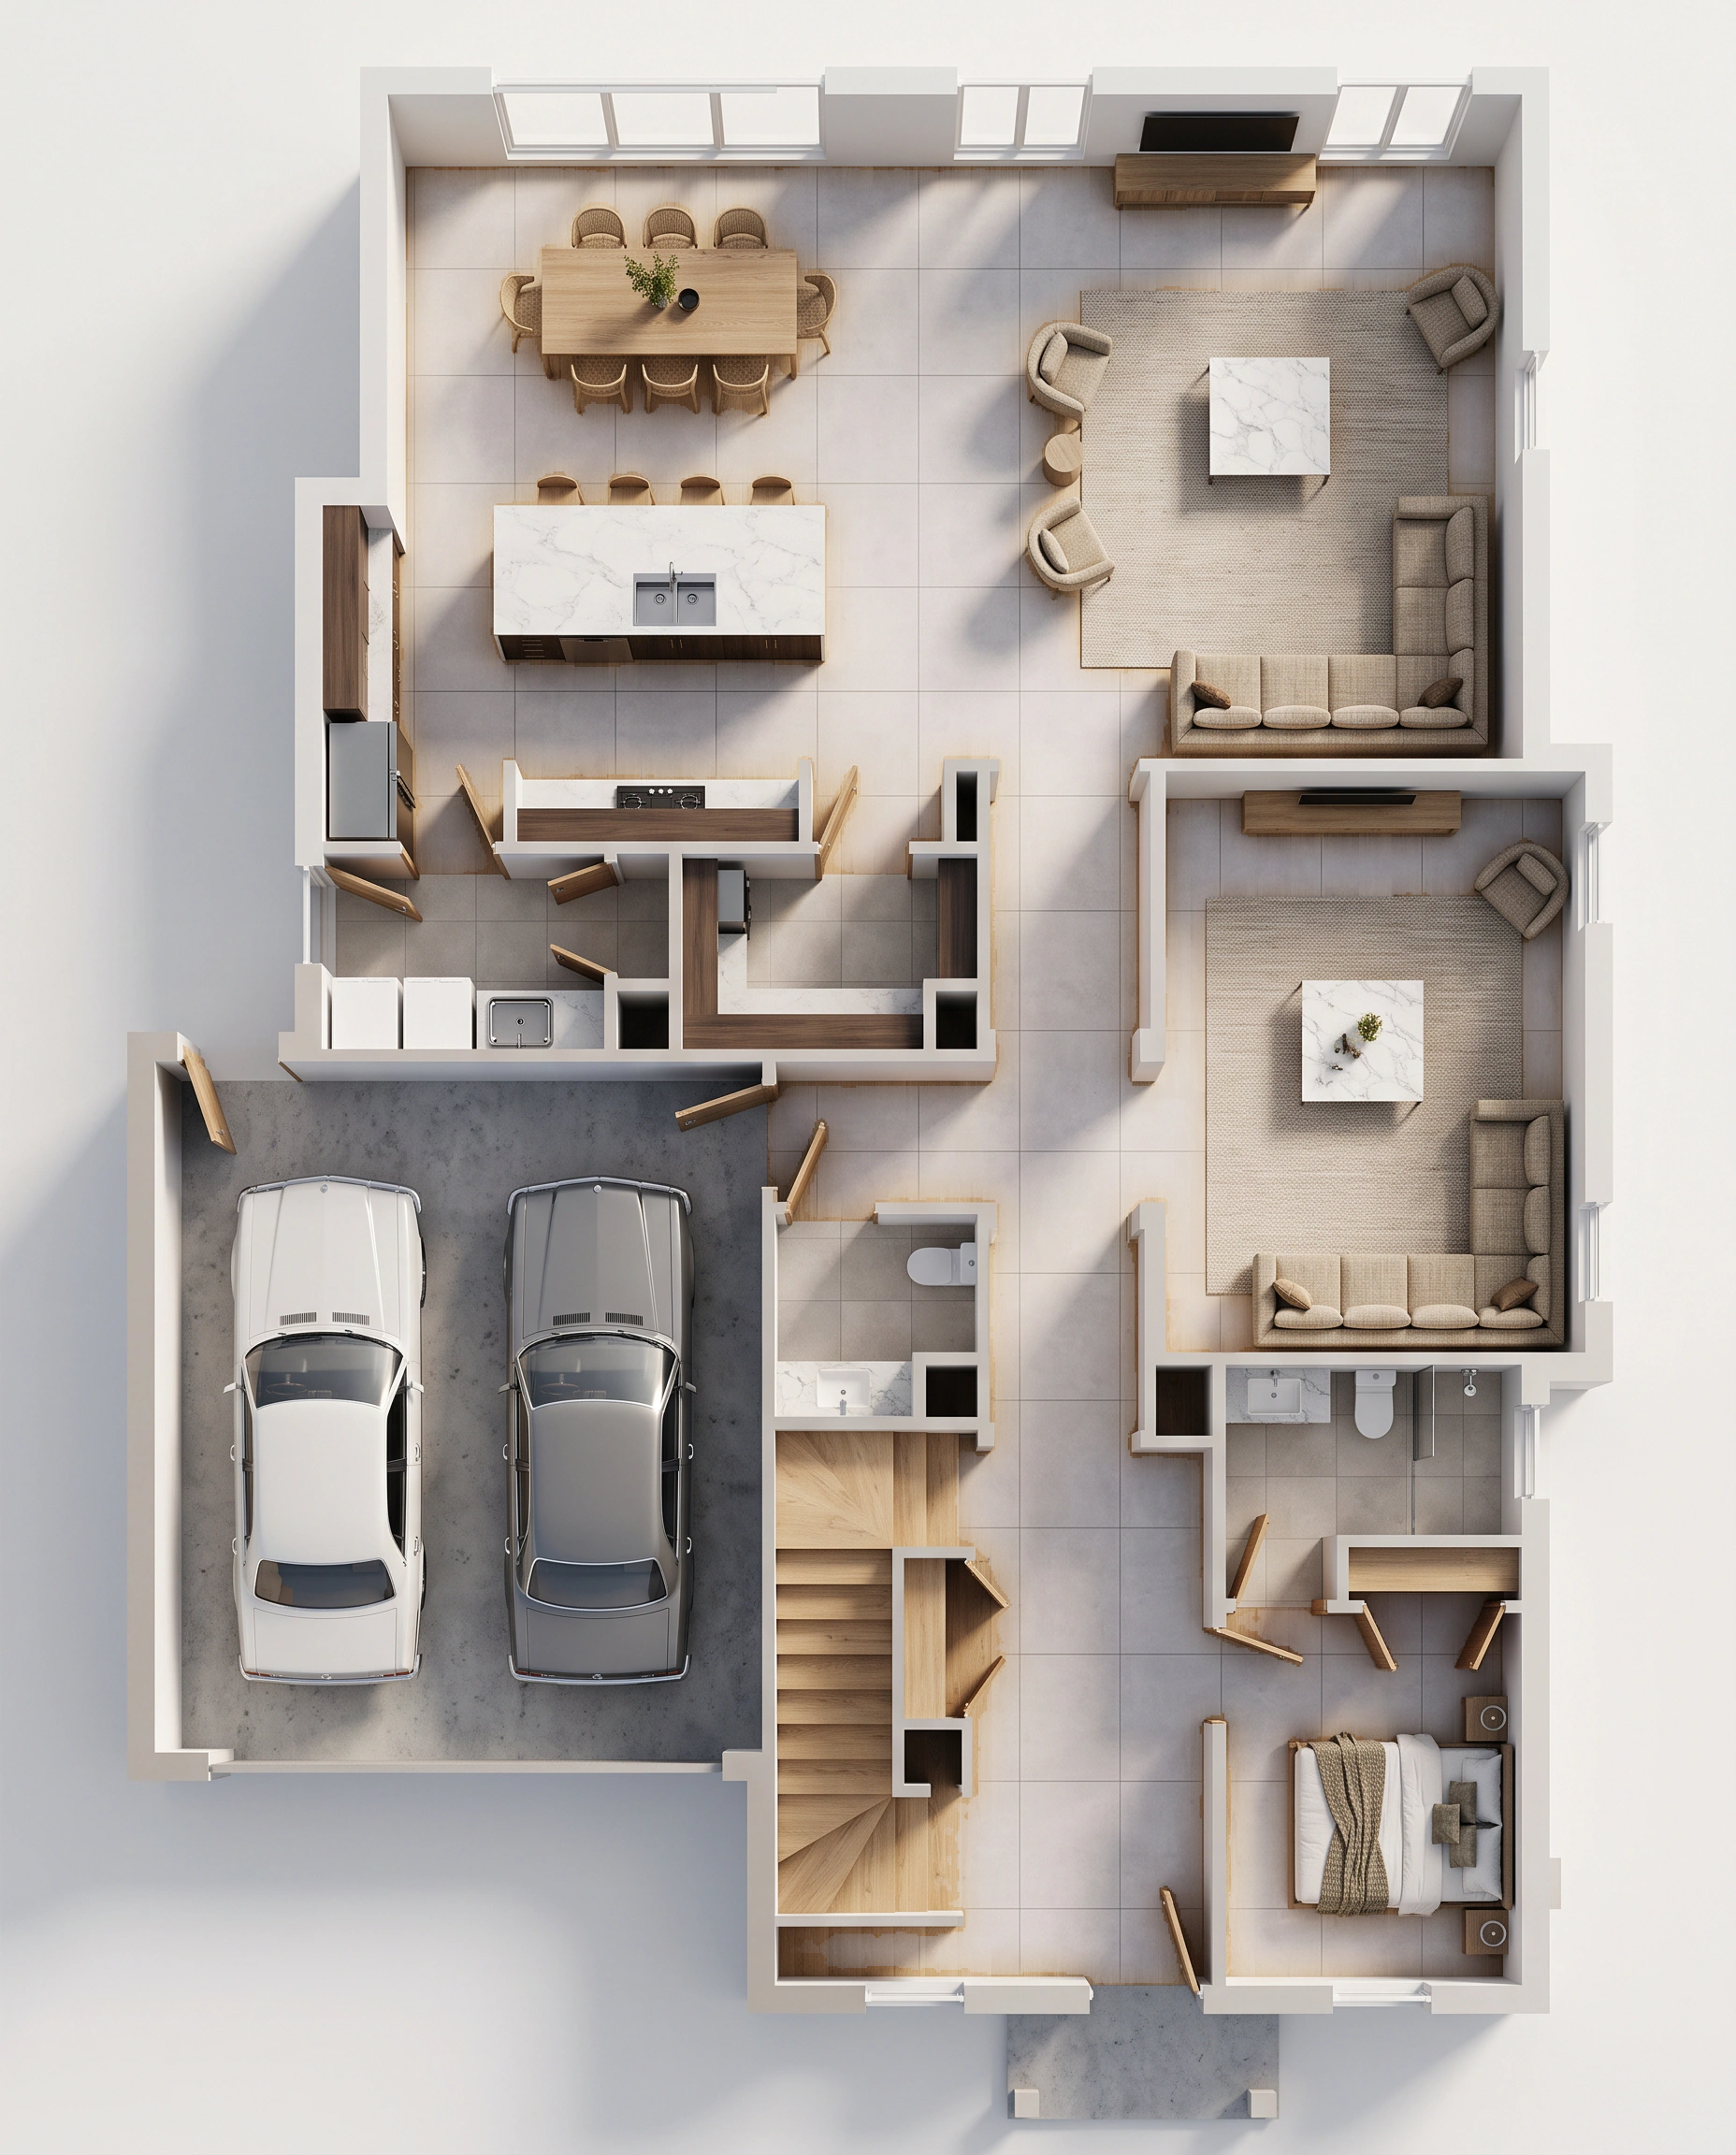
Turn a layout into something people can picture living in.

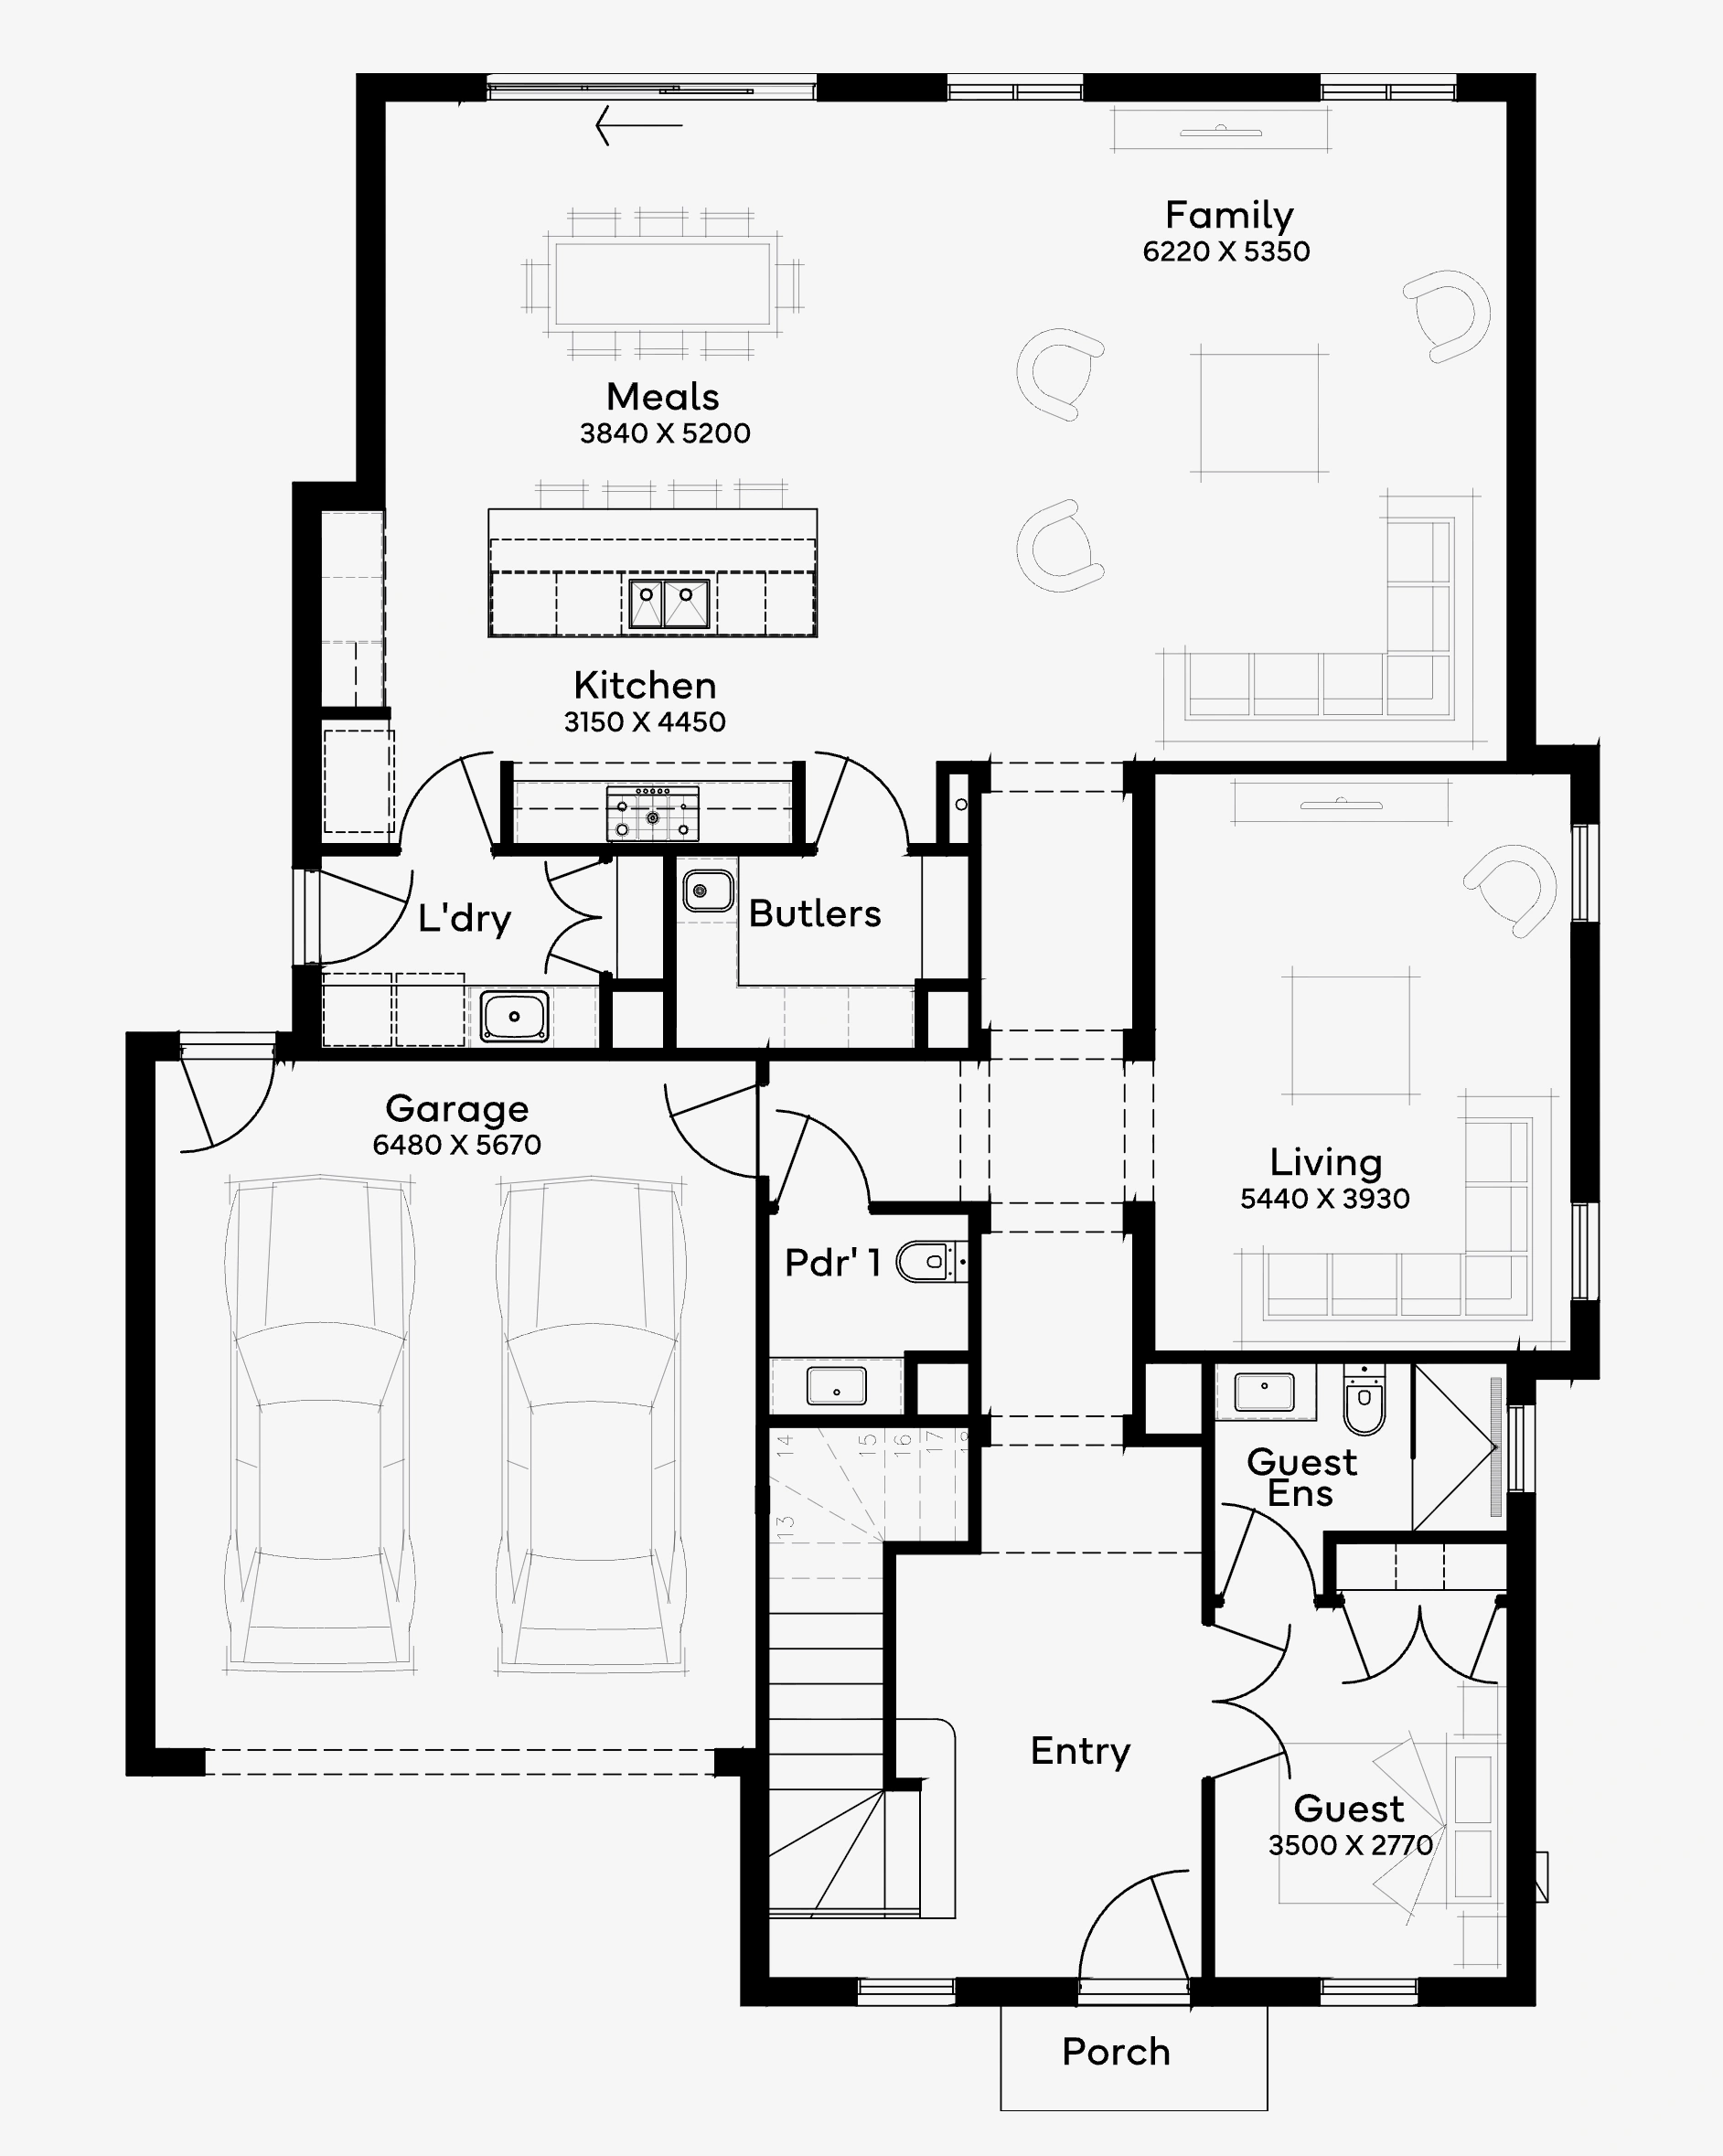
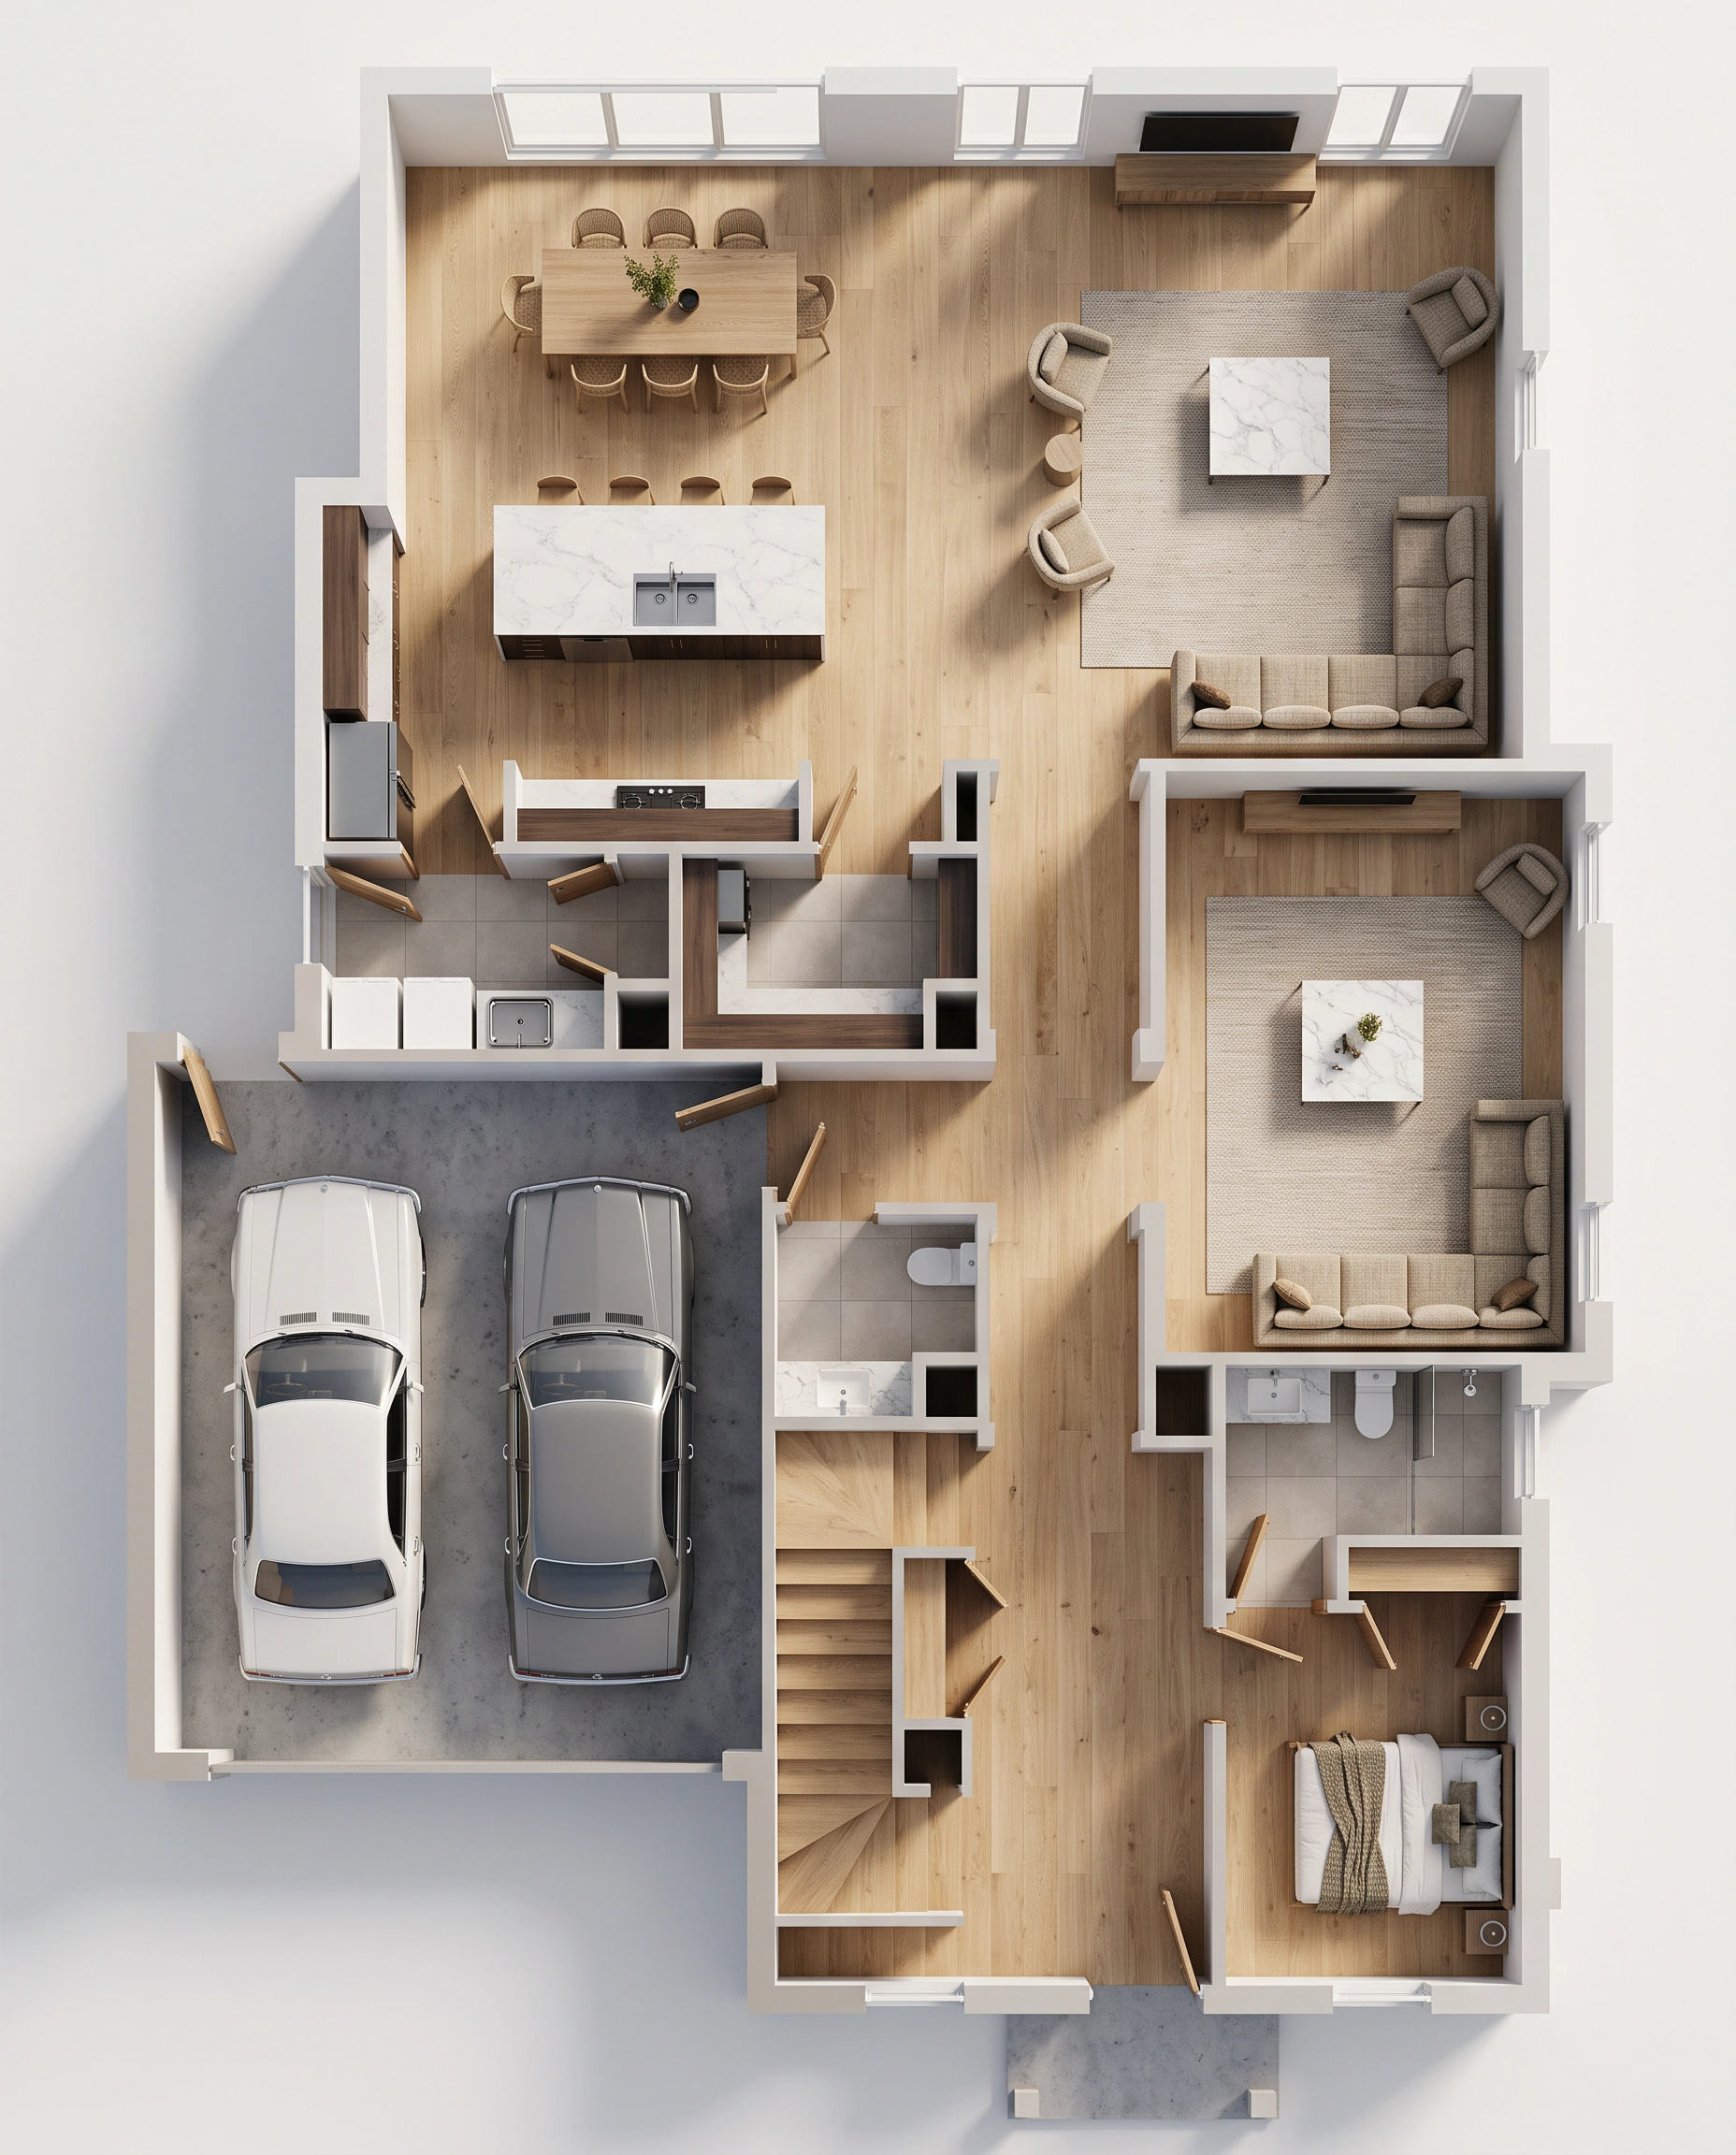
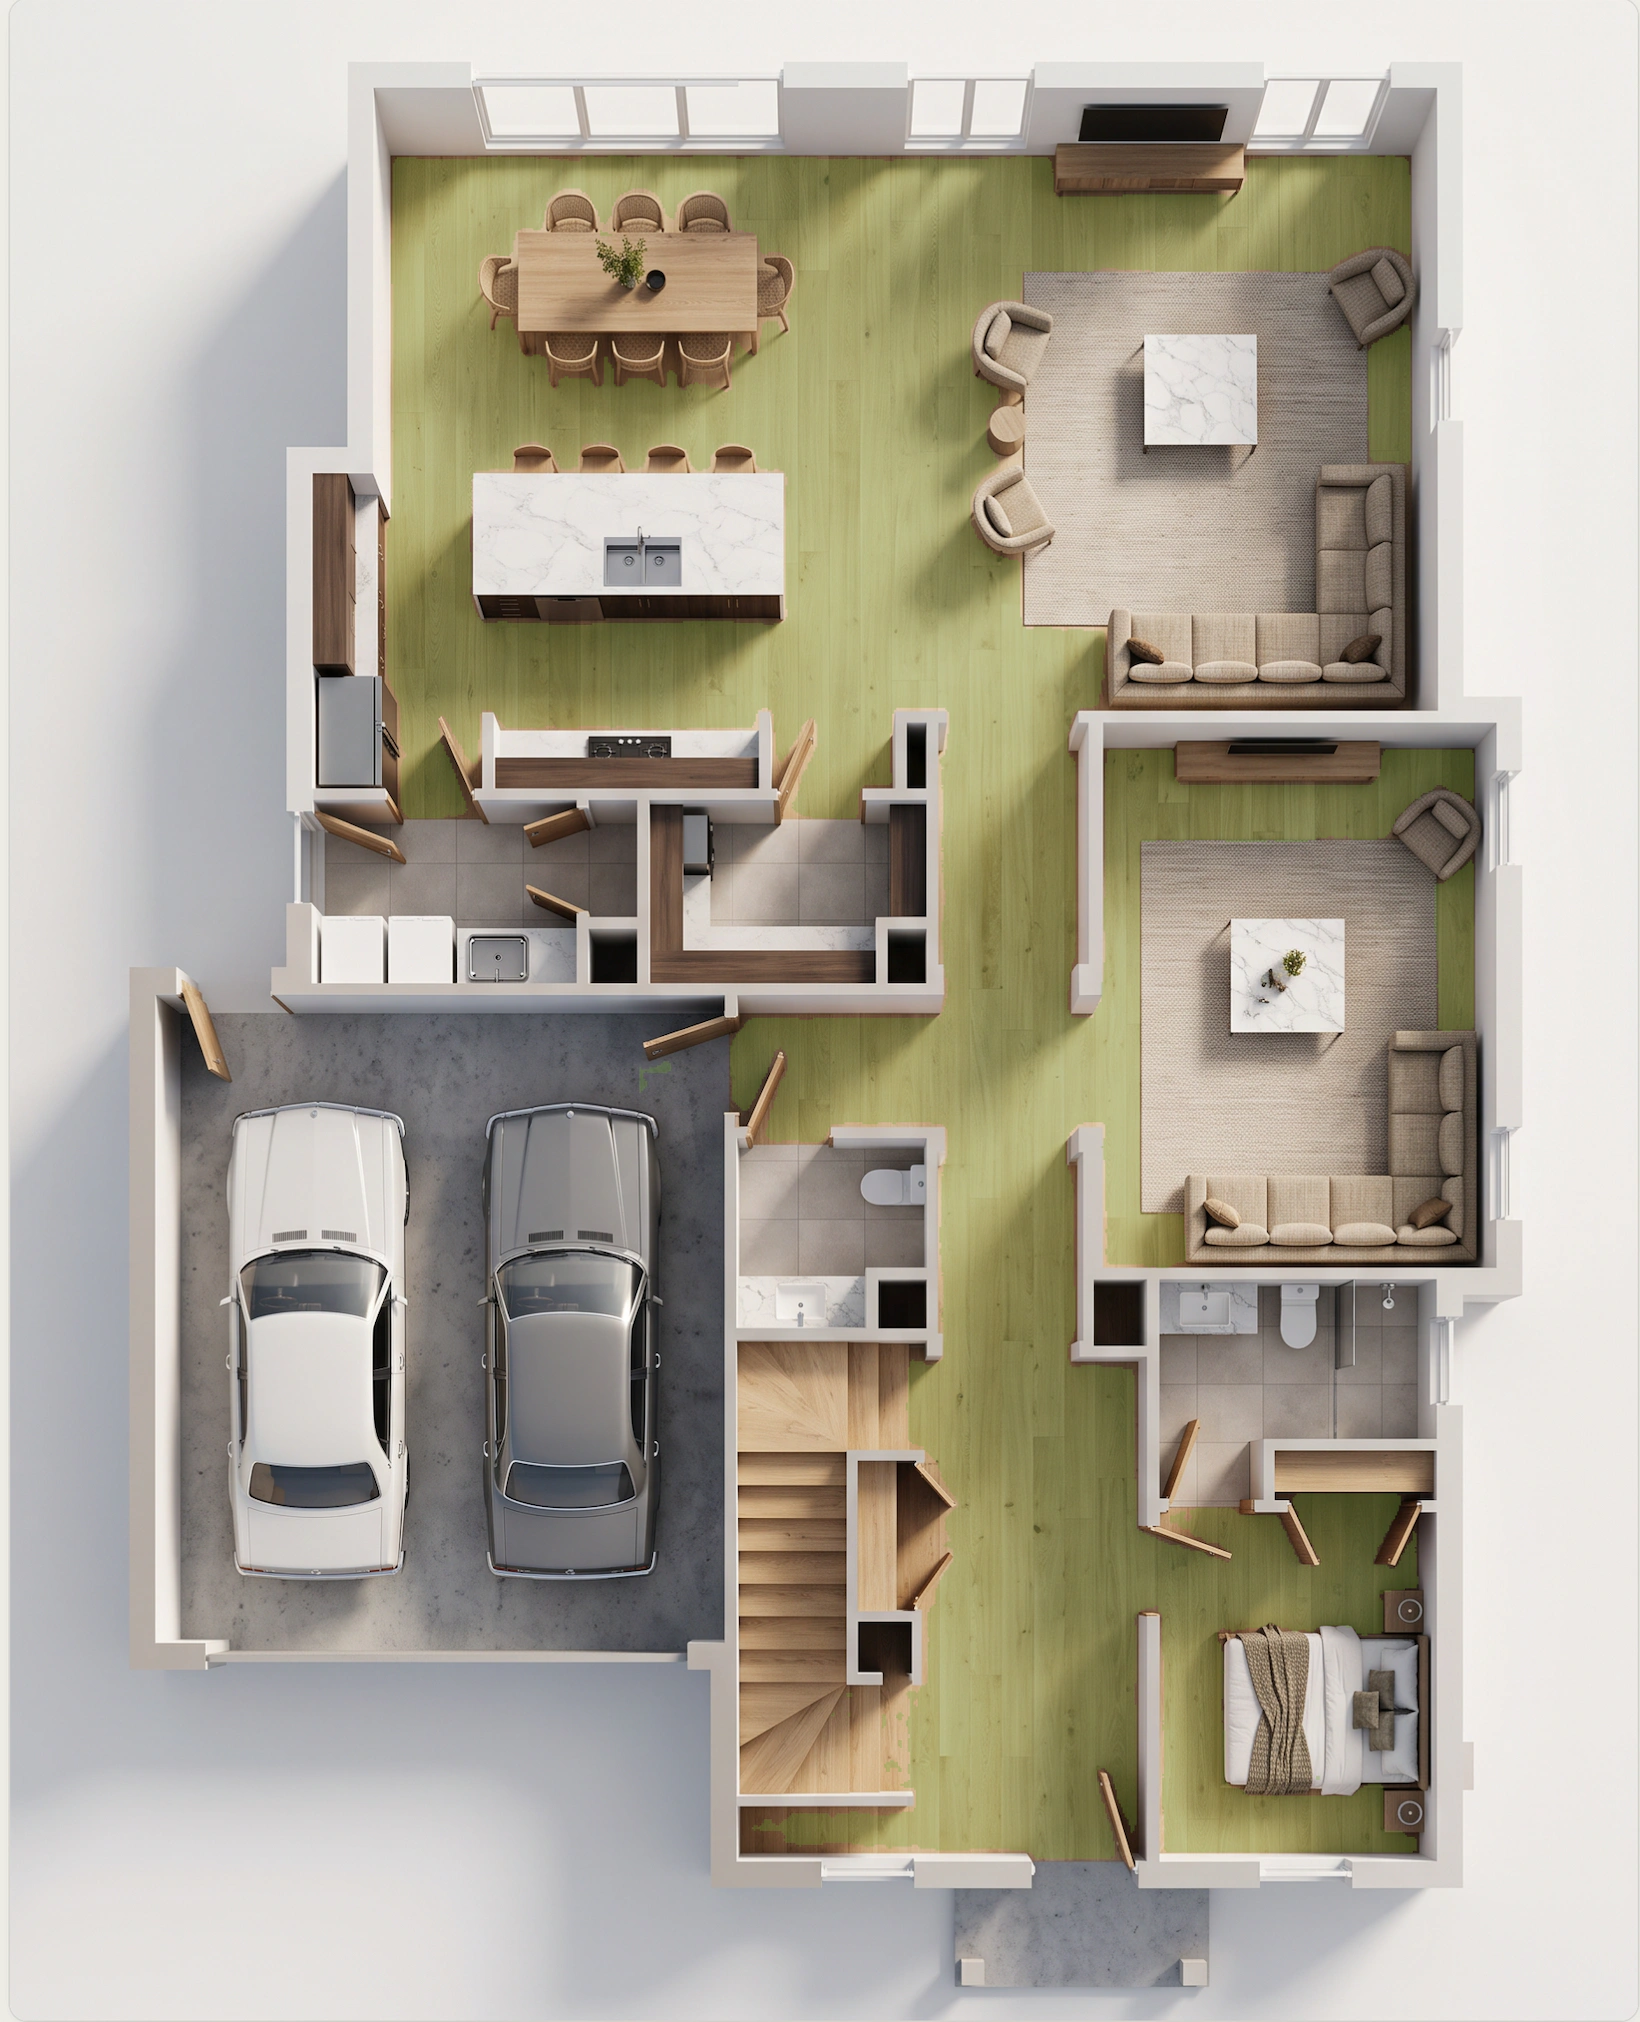
Create a furnished view, then use auto-detect to find matching floor areas and try a new finish across the plan. It is a faster route from dimensions to a useful design conversation.

Explore floor plan visualisation
Original black and white residential floor plan
01Upload the plan
Furnished three-dimensional visual created from the floor plan
02Create the visual
Floor plan with matching floor areas automatically detected
03Auto-detect floors
Revised three-dimensional floor plan with new wooden flooring
04Change the finish

03 · Elevation to render

See the same design in a different light — and place.

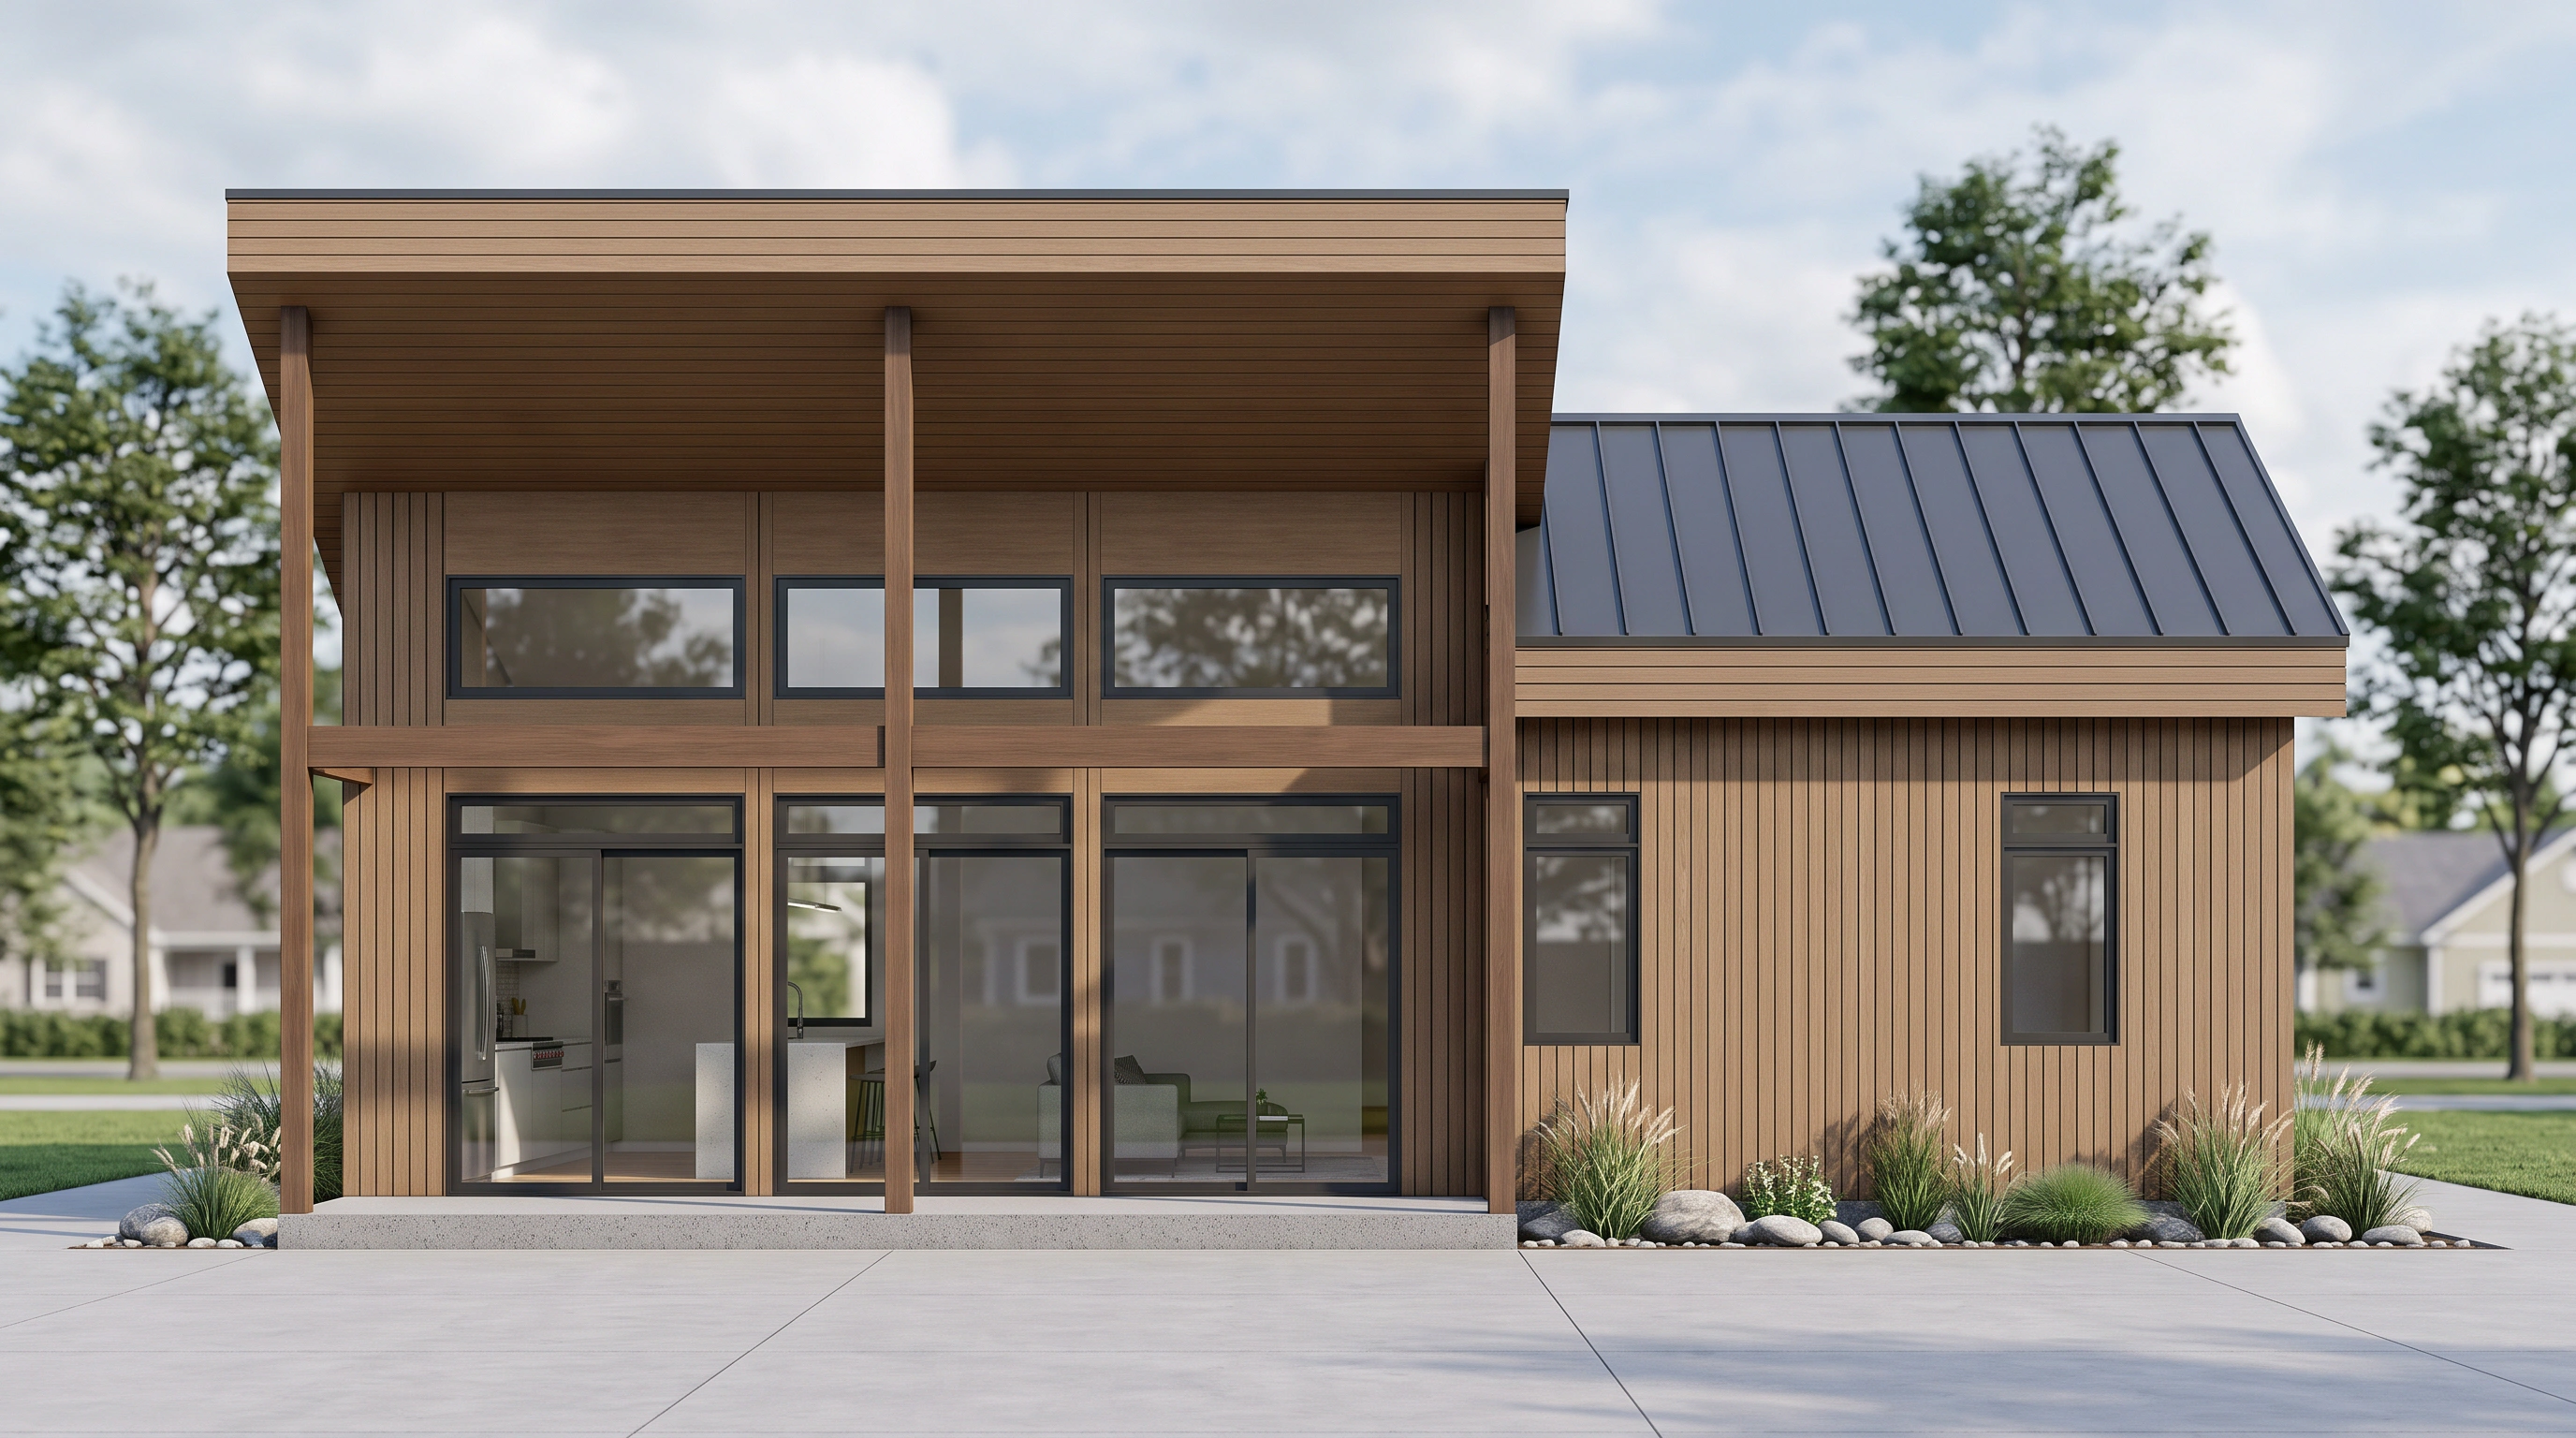
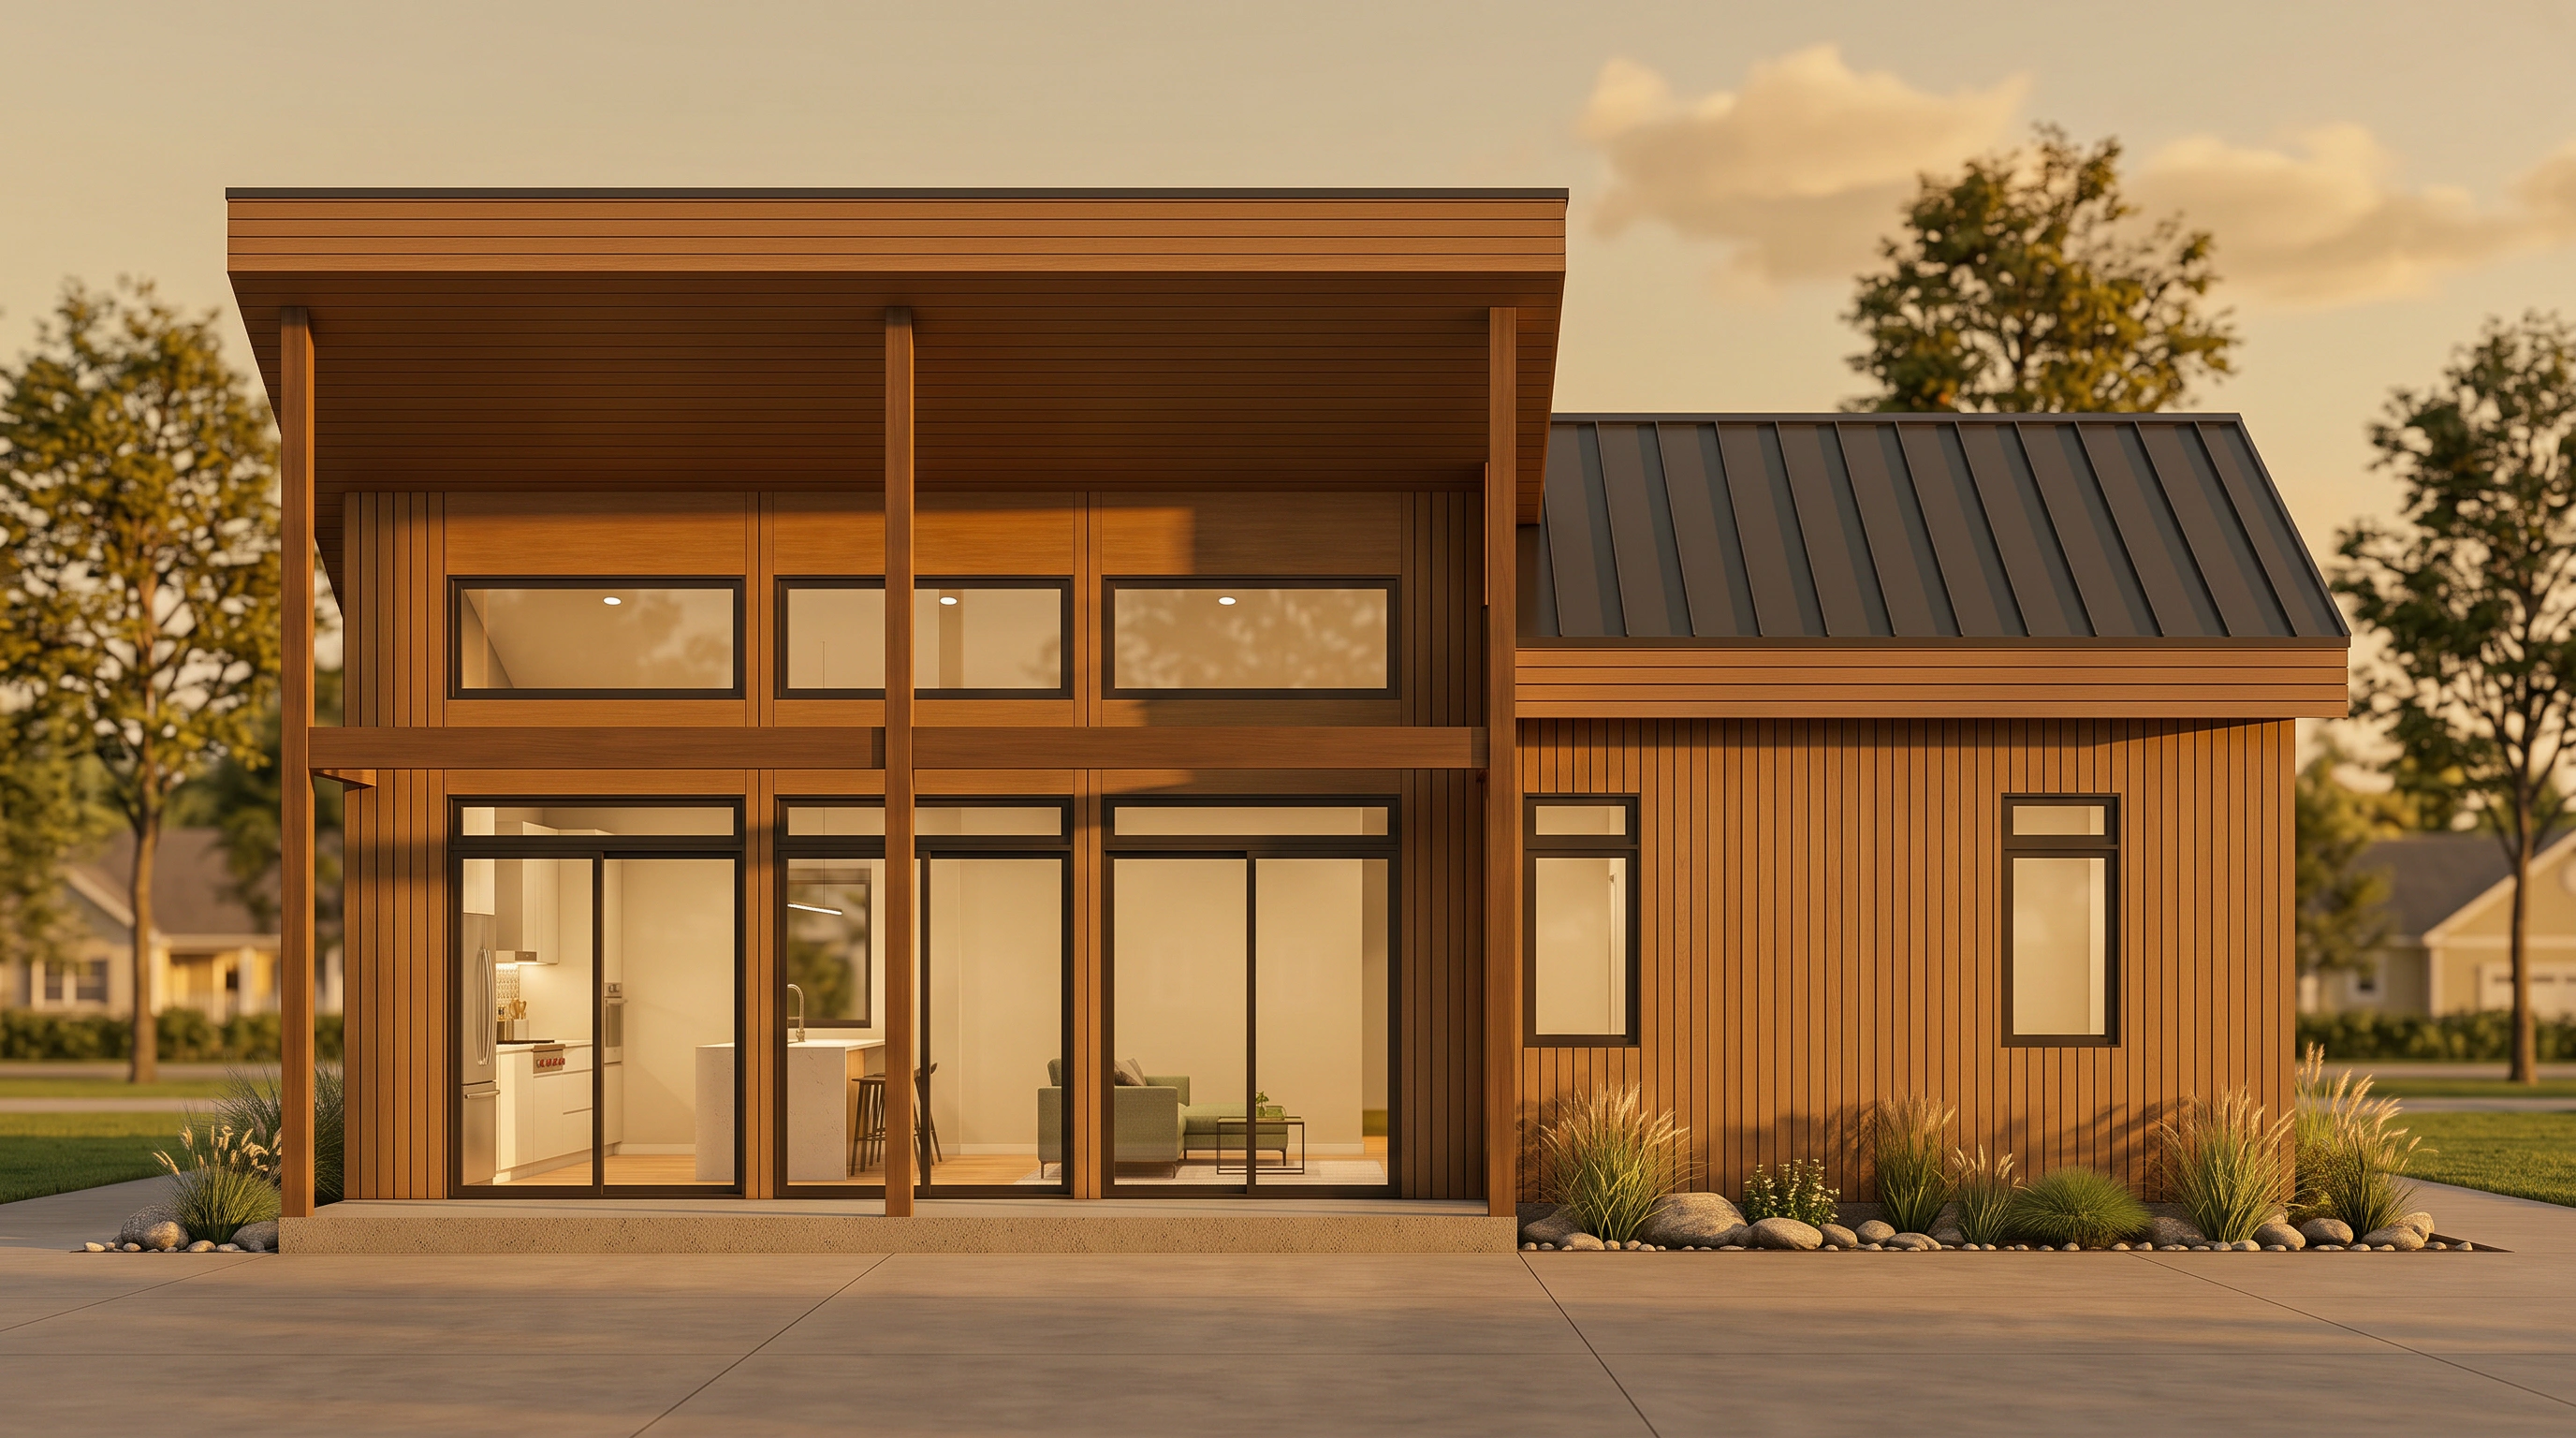
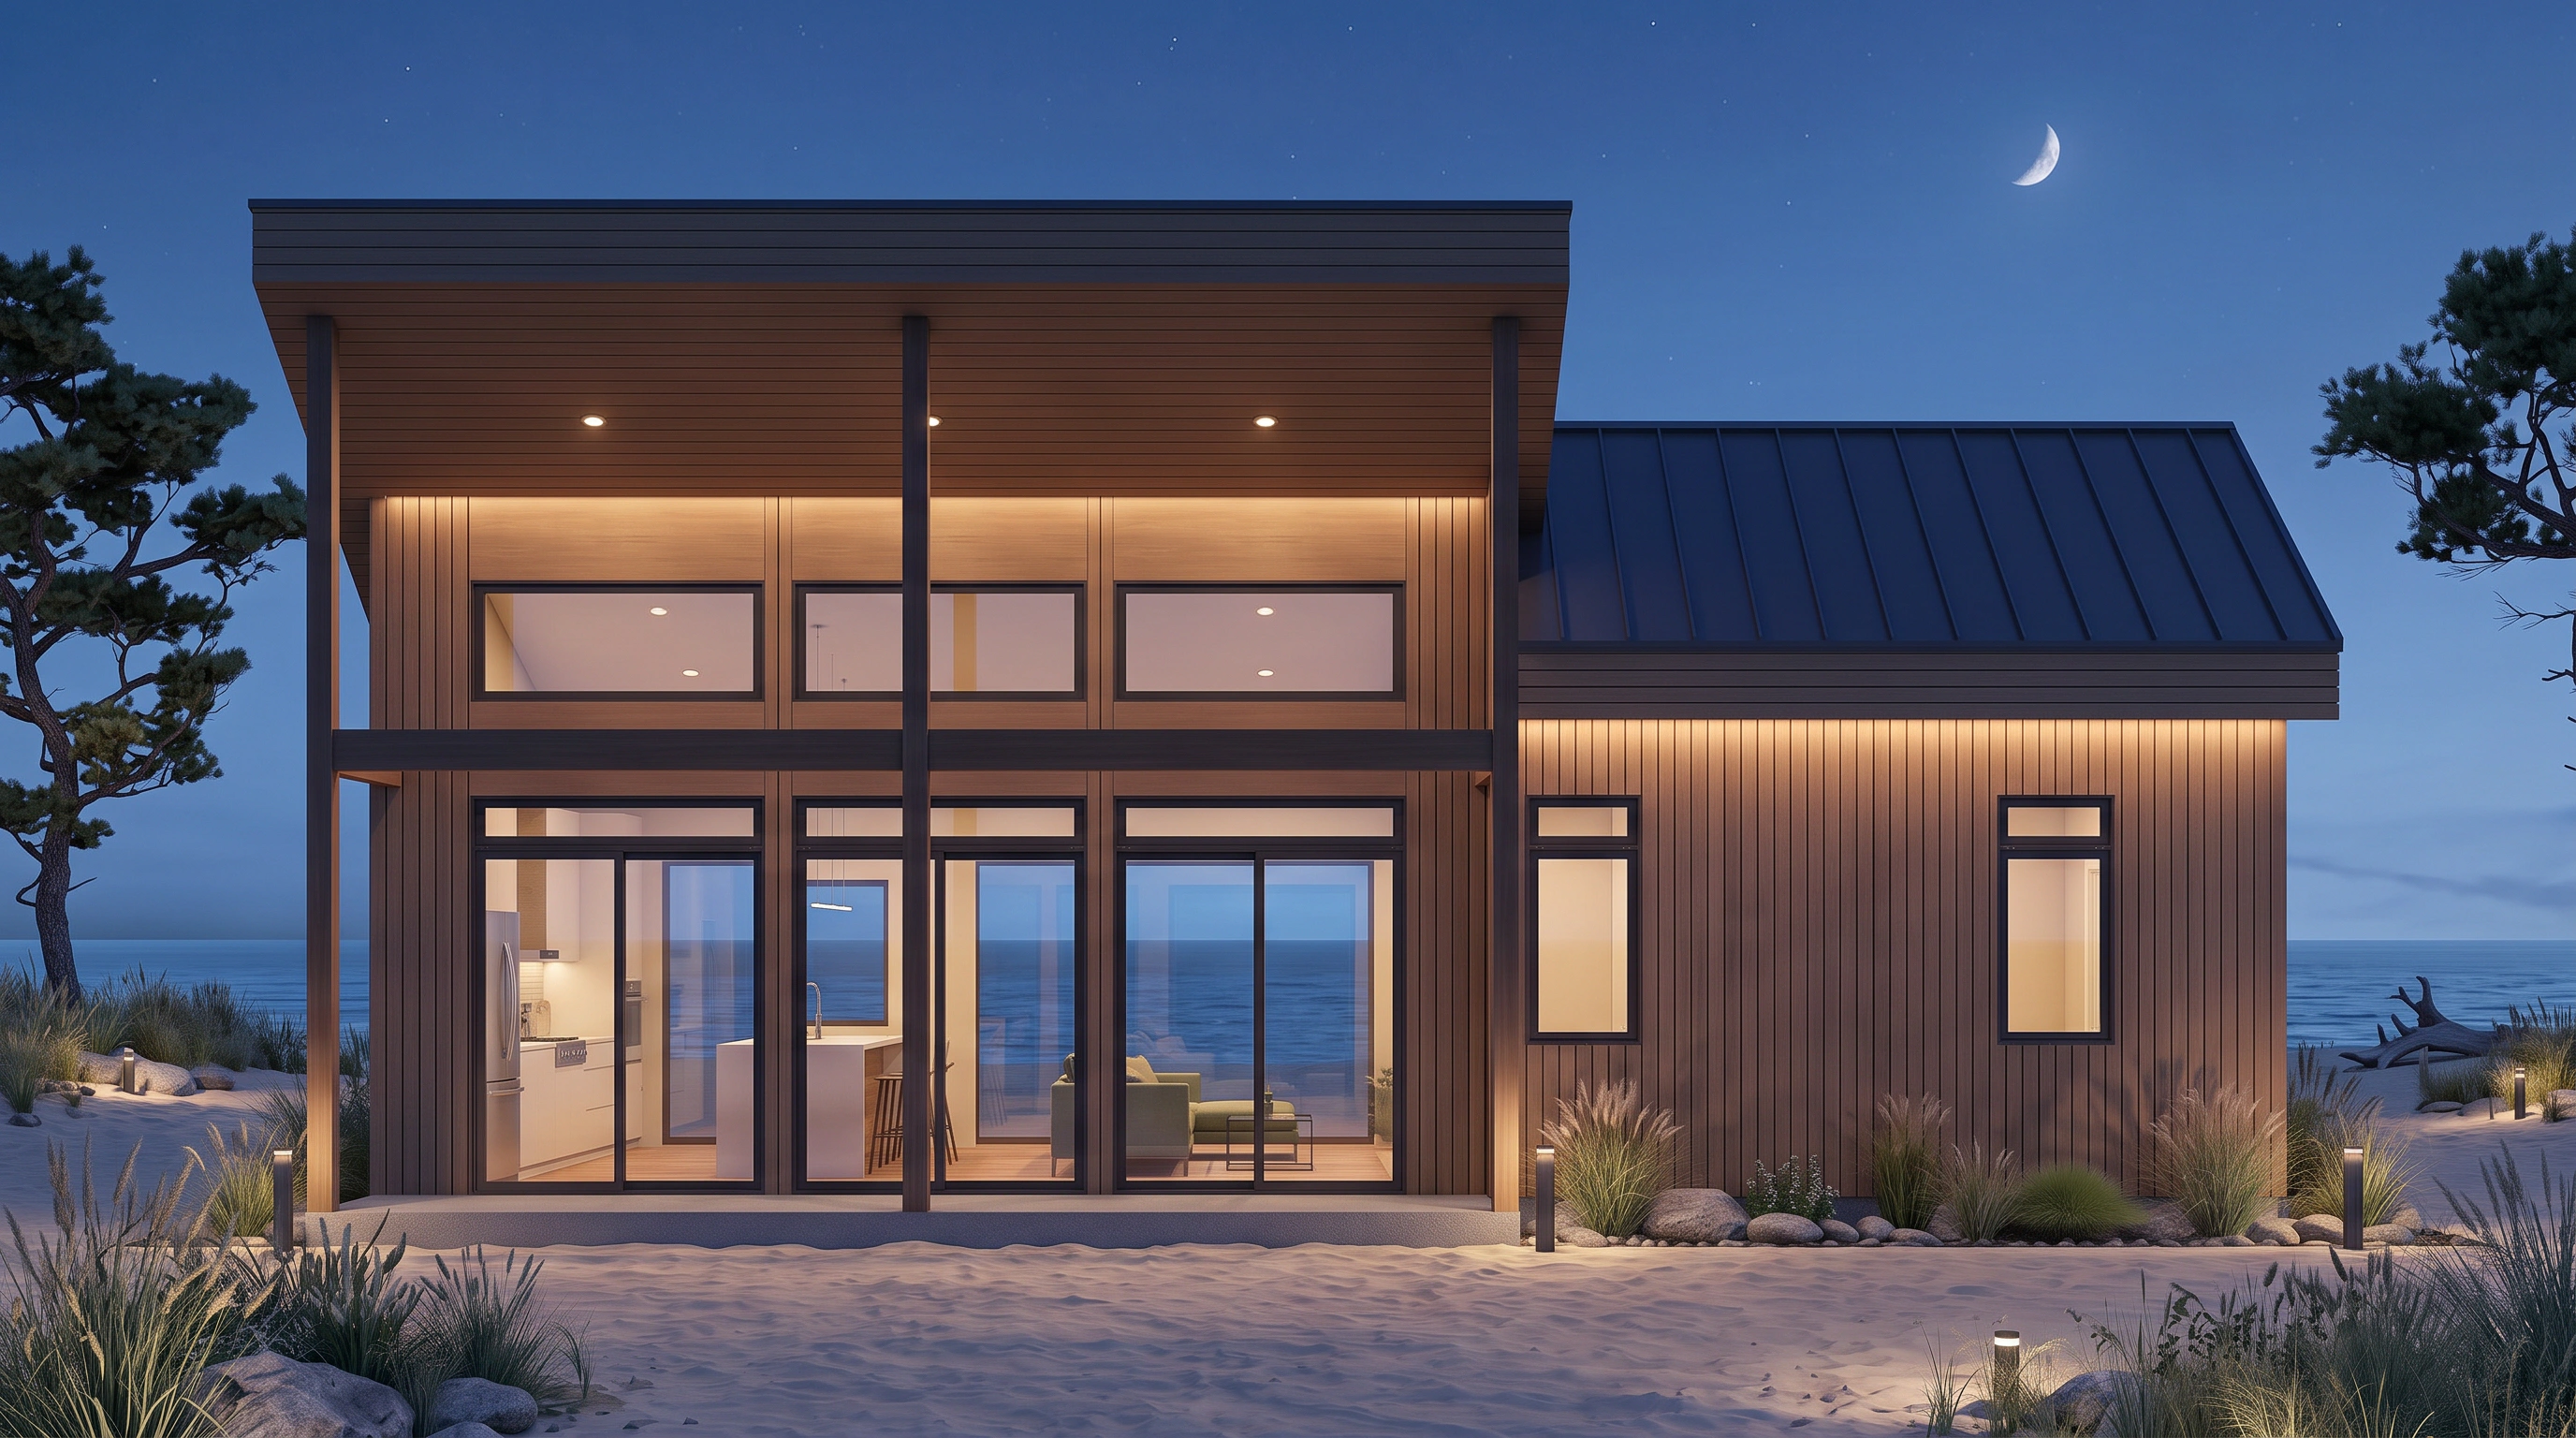
Move beyond the flat facade. Explore materials, daylight, golden hour and night, or place the design in a setting that gives the presentation the right mood.

Explore elevation to render
Timber pavilion visual in a suburban setting during the day
01Day · Suburban
The same timber pavilion visual at golden hour
02Golden hour · Suburban
The timber pavilion visual at night in a coastal setting
03Night · Beach

Control the result

The first visual is a starting point.

A useful visual should keep up with the conversation. Direct precise changes and build on the result you already have.

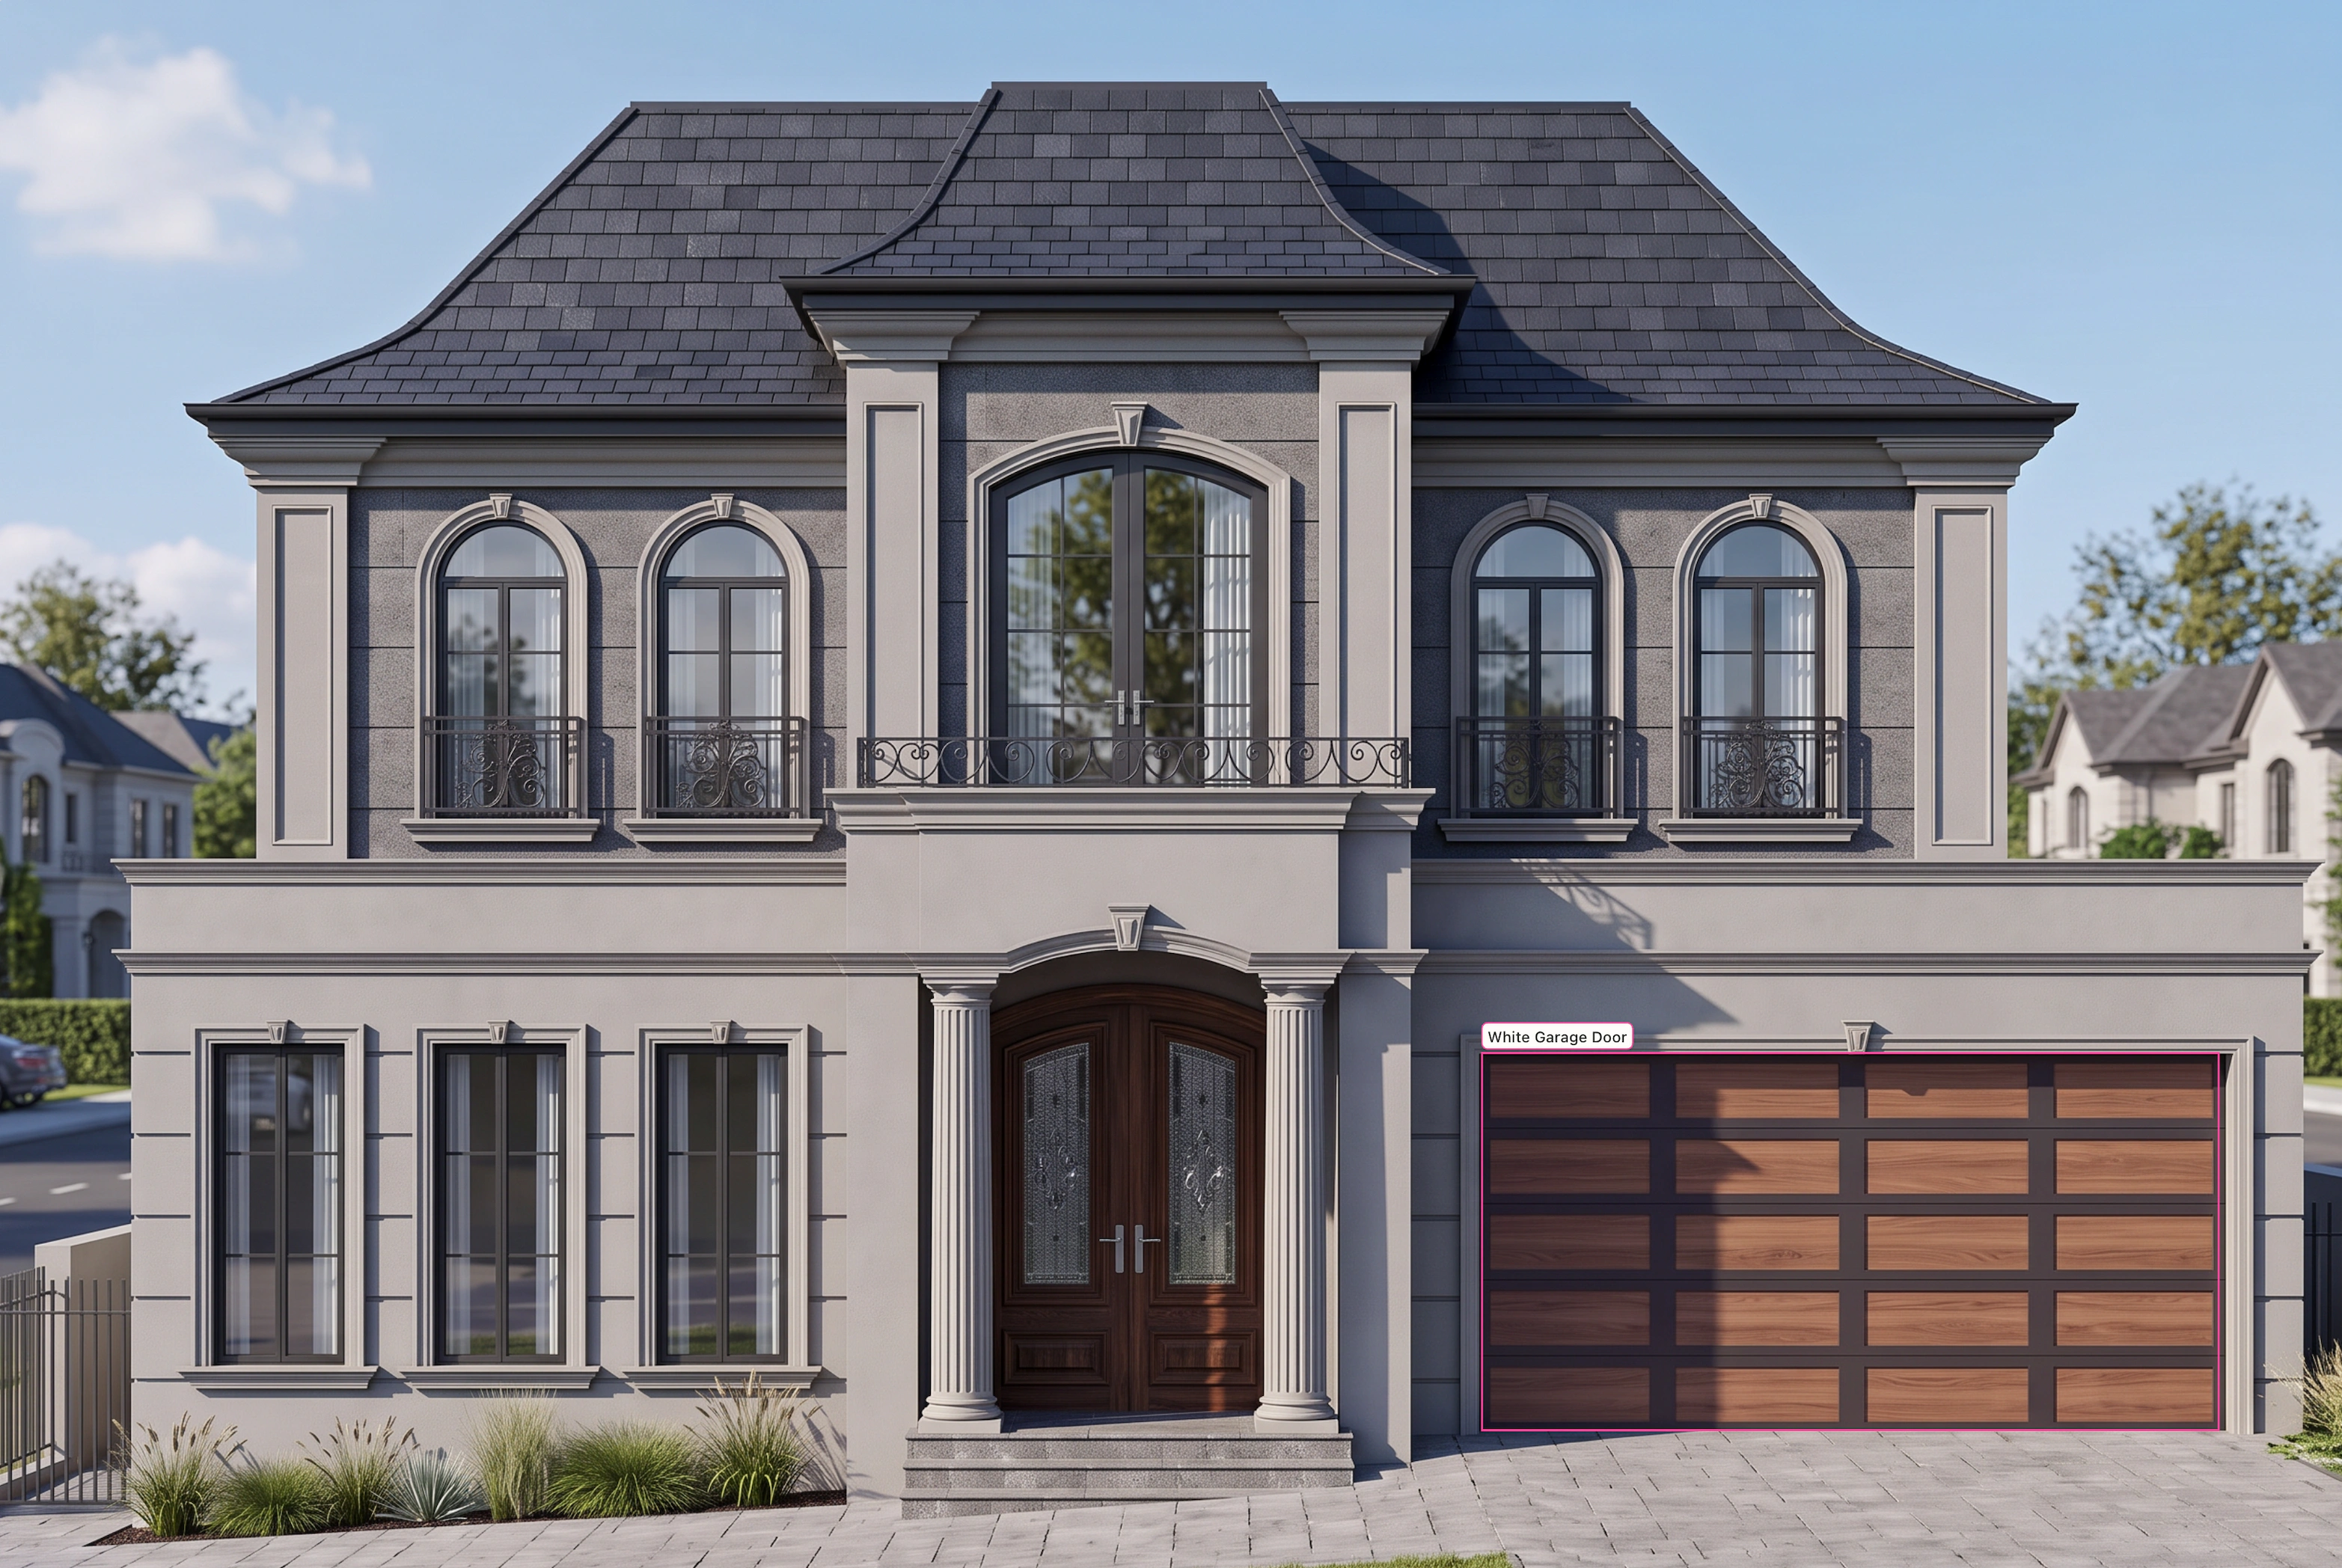
A garage door selected with an annotation asking for a white finish

01 · Annotations

Mark the exact area you want to change.

Draw over the visual and add a plain-language instruction. Keep the rest of the image intact while you direct attention to one part.Explore selected-area control
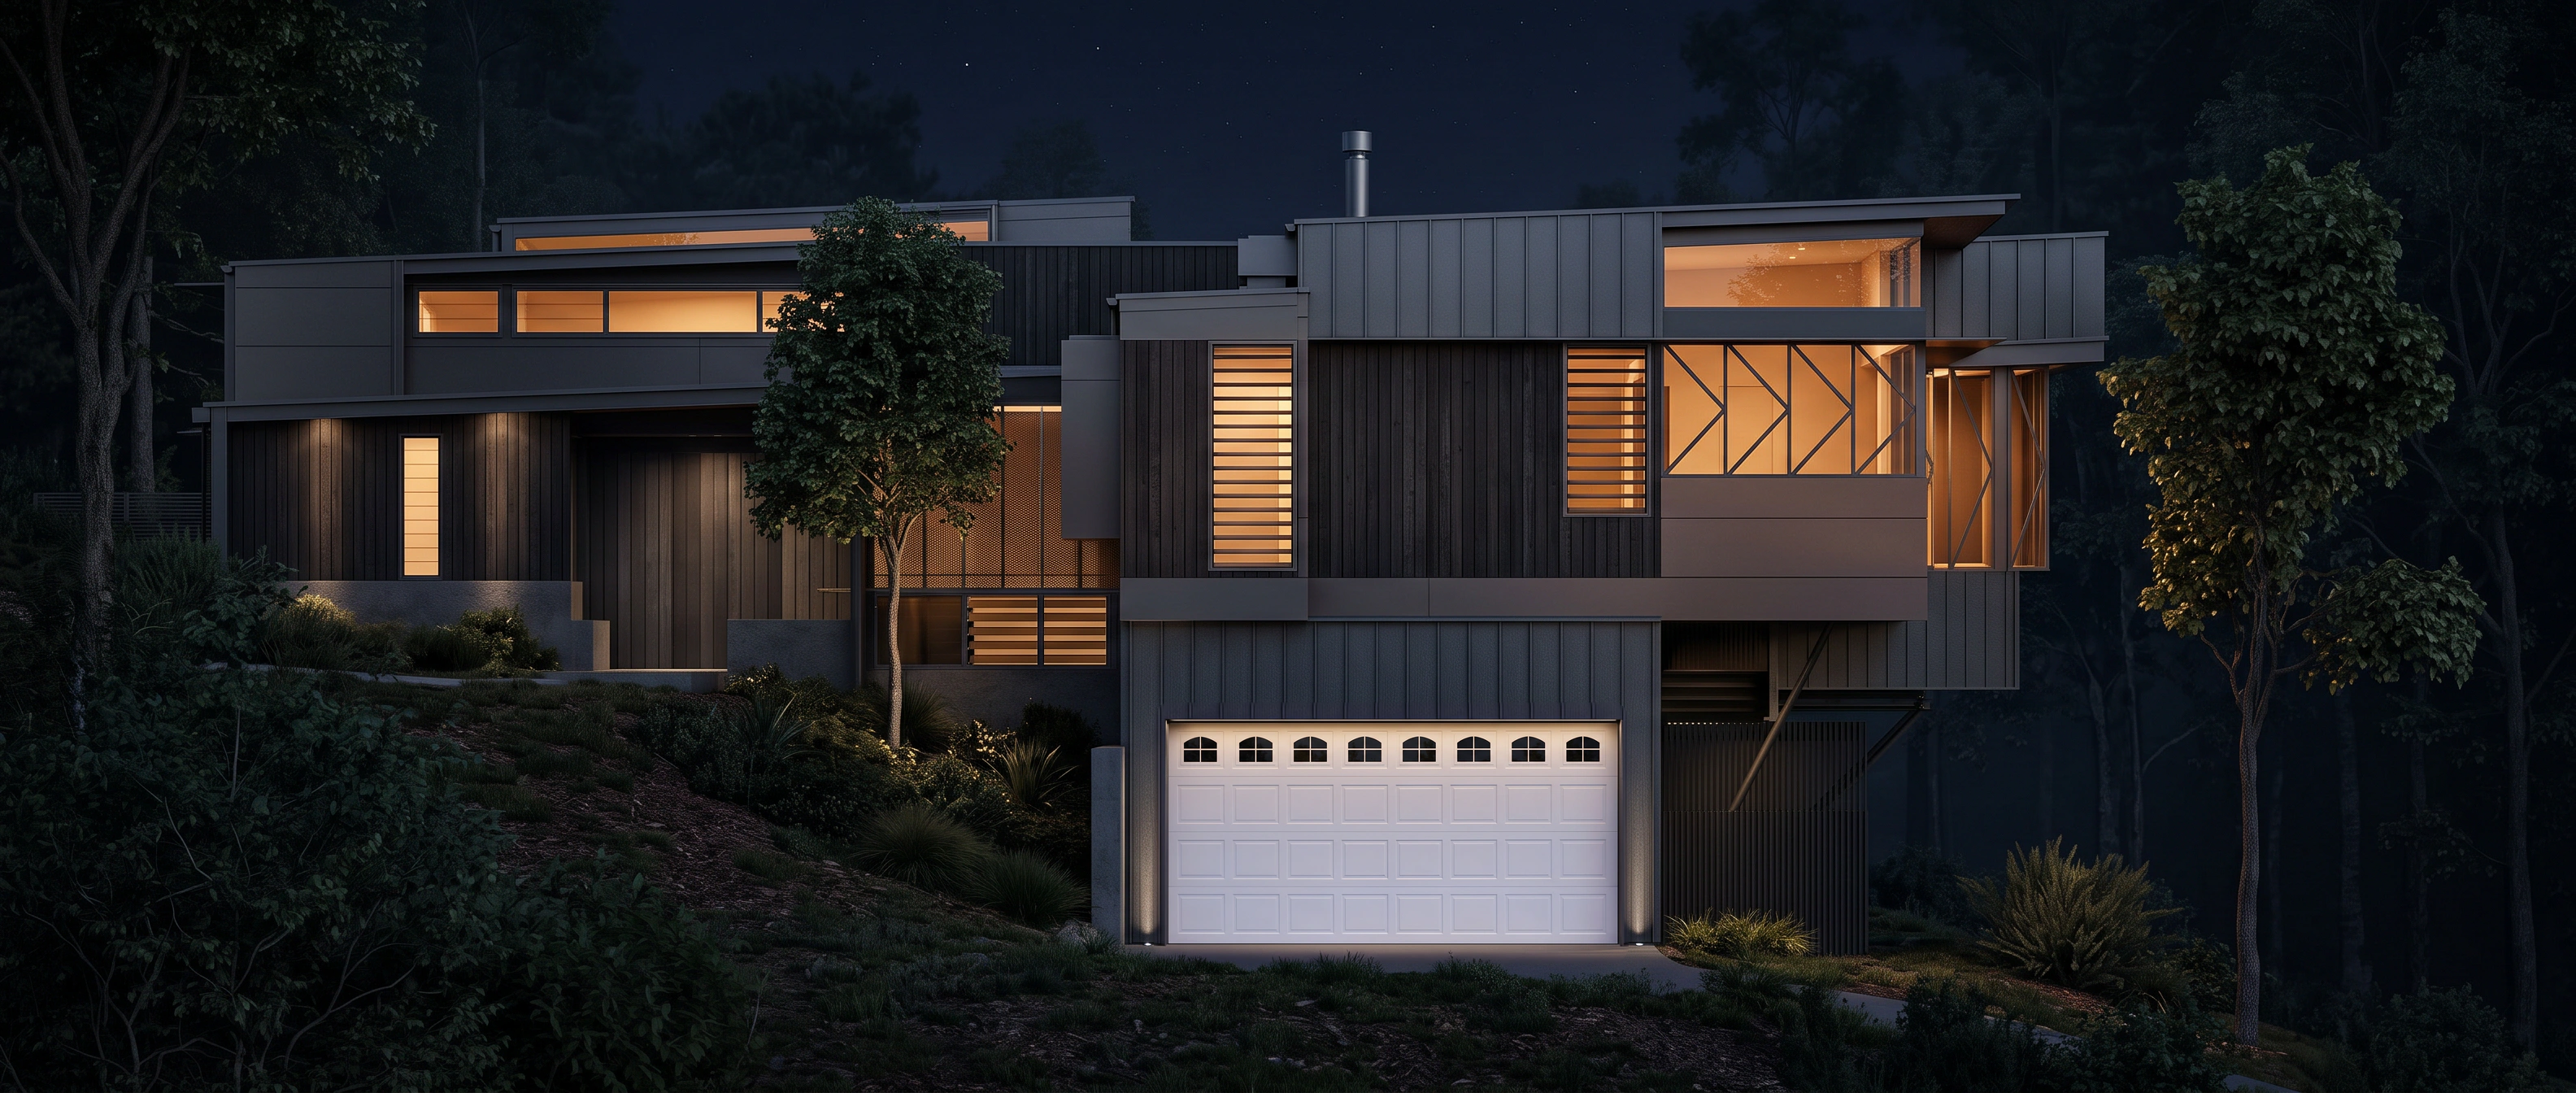
Night-time residence visual with a garage door replaced using a reference image
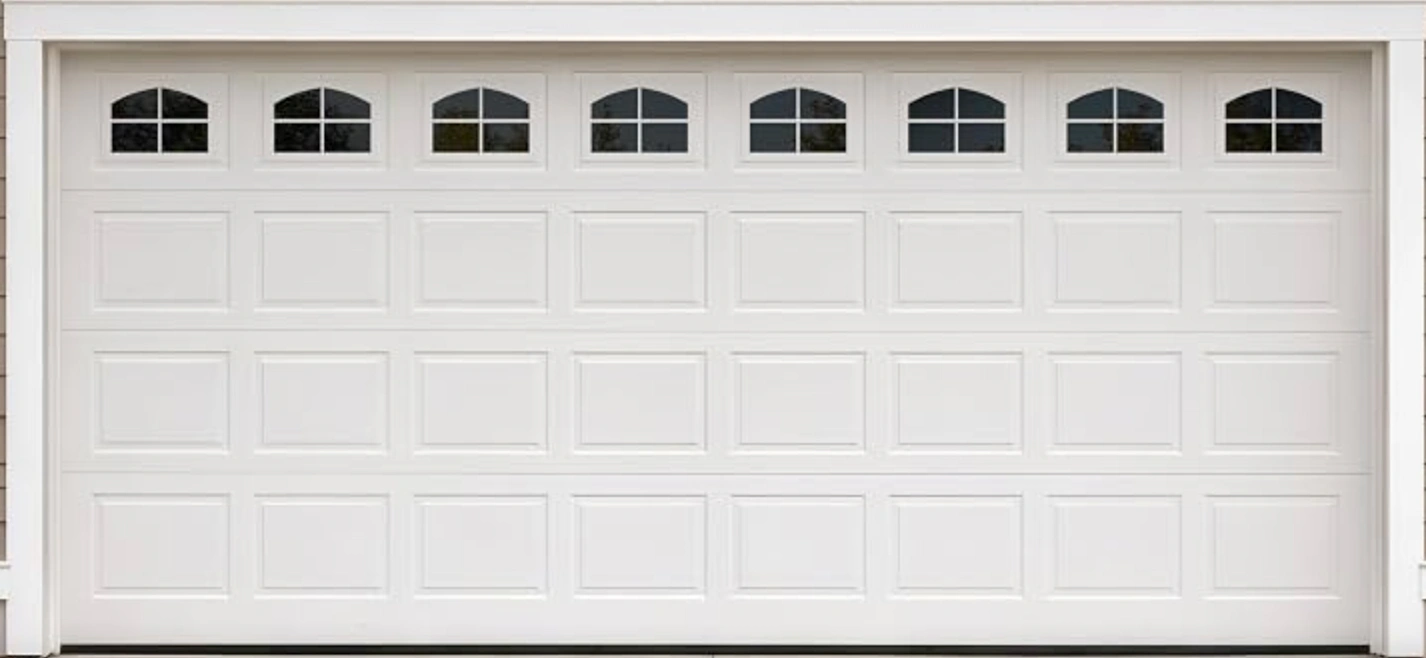
Reference photograph of a white panelled garage doorReference

02 · Reference images

Show the material or feature you have in mind.

Attach a reference to a selected area to guide its shape, colour or finish. Visual direction makes a specific change easier to communicate.See reference-guided replacement
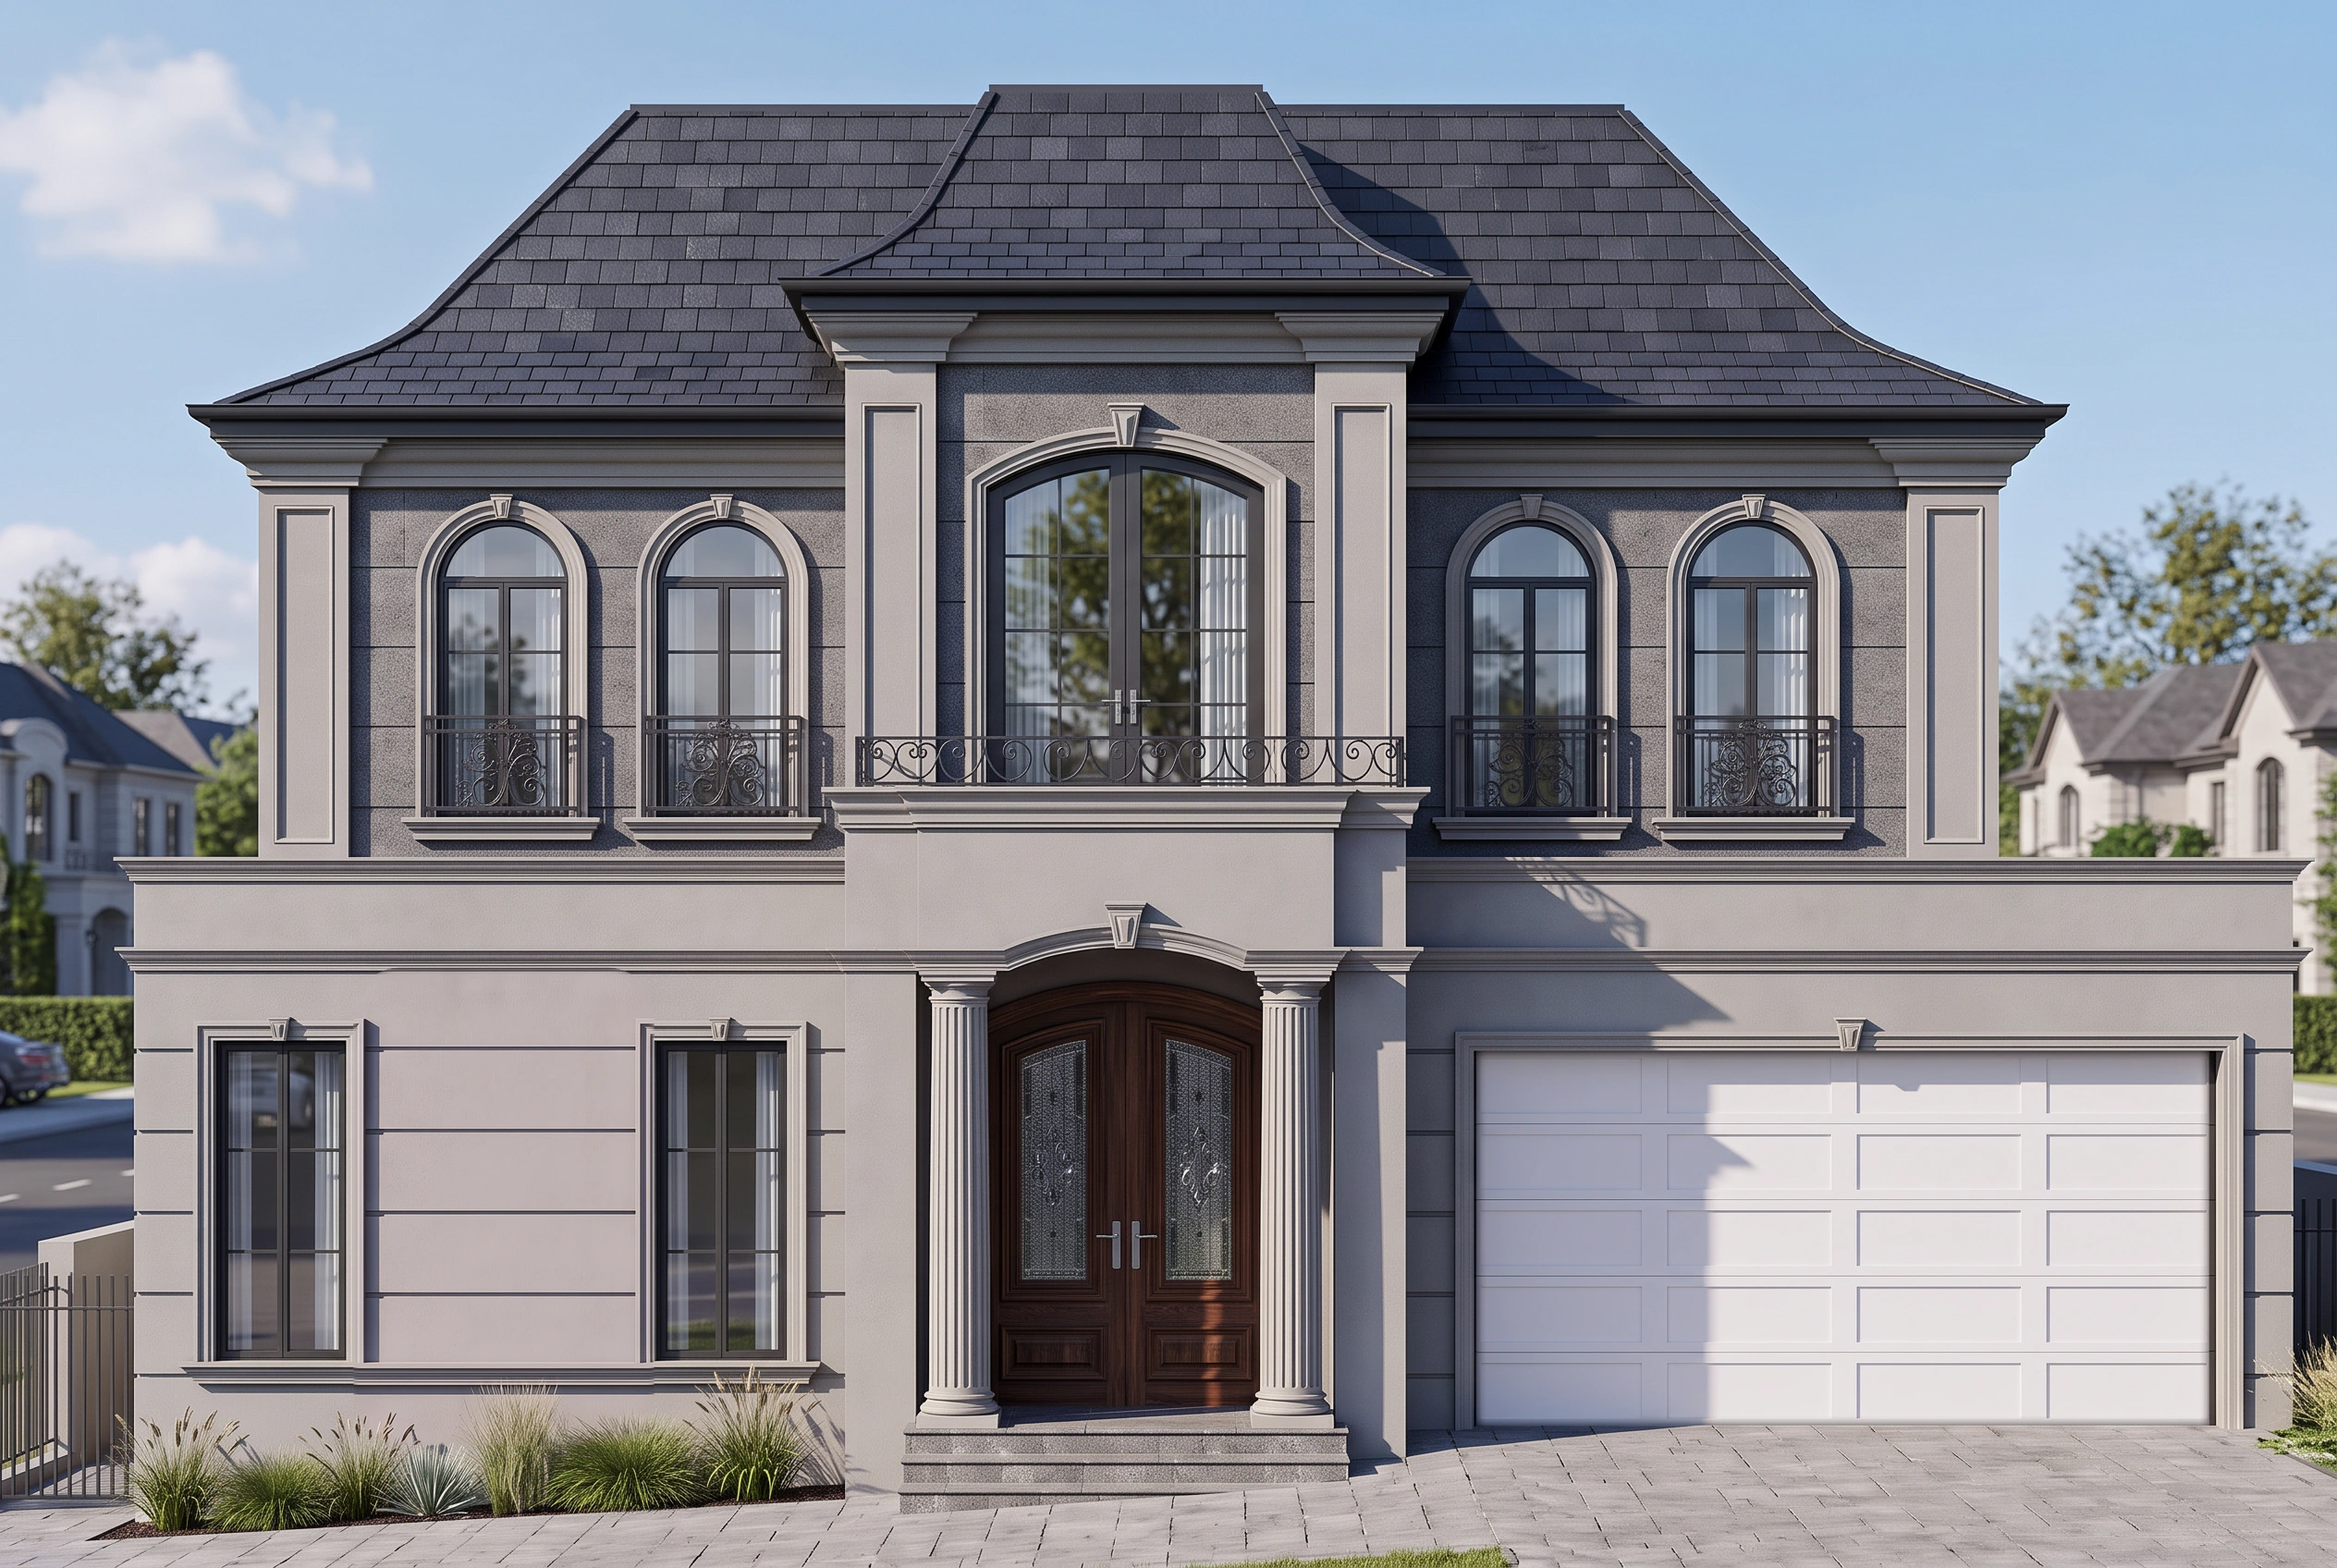
Revised French Provincial facade with a selected window removed and garage recoloured

03 · Iterate

Keep refining instead of starting again.

Remove an element, recolour a surface or try another finish. Each revision gives the next design conversation something concrete to respond to.See the elevation workflow
InputJPG, PNG or PDF
OutputHigh-resolution images
SetupNo software or GPU
WorkspacePrivate to your account

Start with what you have

Bring one drawing. Leave with something people can see.

Create your first concept visual, then refine the details until the idea is ready for the next conversation.

Create my first visual 5 free renders · No credit card required